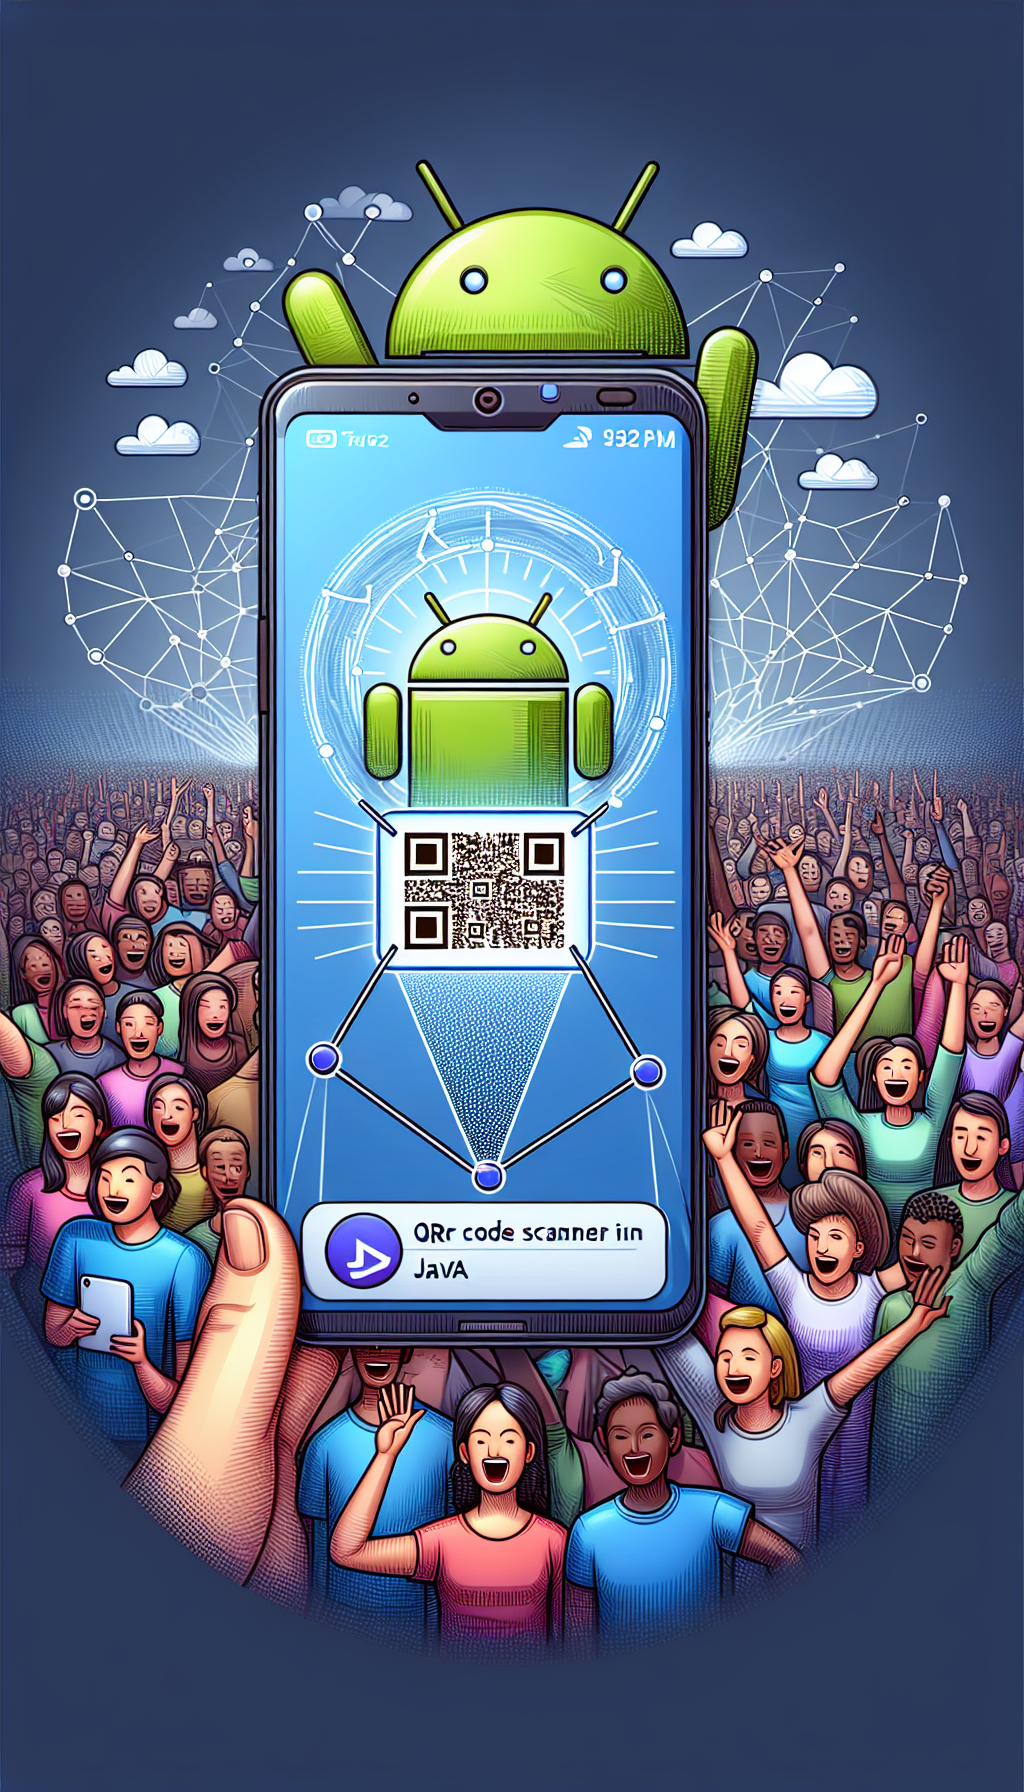
Integrating QR code scanning functionality into your Android WebView app can greatly enhance user engagement, streamline operations, and offer more interactive experiences for your users. As digital interactivity continues to evolve, QR codes have emerged as a quick and versatile method to bridge traditional print media or physical objects with digital content.
Why Add QR Code Scanning to Your Android WebView App
QR (Quick Response) codes allow users easy access to digital information without manually typing URLs or searching online. Implementing QR code scanning within your Android WebView app increases convenience, saves time, and provides immediate access to in-depth website content, special promotions, product details, and much more. This functionality boosts the overall user experience and encourages repeat app usage.
Understanding Android WebView and Java Integration
Android WebView is an essential component that allows developers to embed browser-like interfaces directly inside their applications. However, to enable advanced features such as QR code scanning, additional Java-based integrations are required. Utilizing Java alongside WebView empowers your app to access native device capabilities, enabling seamless and robust functionalities.
Step-by-Step Implementation of QR Code Scanning with Android WebView and Java
Let’s walk through how you can add a QR scanner to your WebView-powered Android app efficiently:
1. Prepare Your Android Project Environment
Open your existing Android Studio project or create a new one. Ensure you include the necessary permissions in AndroidManifest.xml to access camera hardware:
<uses-permission android:name=android.permission.CAMERA />
<uses-feature android:name=android.hardware.camera />
2. Include a Suitable Barcode Scanning Library
To simplify the implementation, use a reliable barcode library such as Google’s ML Kit or ZXing. For example, using ZXing is straightforward and widely supported. Add the following dependency into build.gradle :
implementation 'com.journeyapps:zxing-android-embedded:4.3.0'3. Create the Scanner Activity in Java
Create a dedicated activity that handles QR code scanning functionality separately from your WebView activity:
import androidx.appcompat.app.AppCompatActivity;
import android.content.Intent;
import android.os.Bundle;
import com.google.zxing.integration.android.IntentIntegrator;
import com.google.zxing.integration.android.IntentResult;

public class QRScannerActivity extends AppCompatActivity {

    @Override
    protected void onCreate(Bundle savedInstanceState) {
        super.onCreate(savedInstanceState);
        IntentIntegrator integrator = new IntentIntegrator(this);
        integrator.setDesiredBarcodeFormats(IntentIntegrator.QR_CODE);
        integrator.setPrompt(Scan QR Code);
        integrator.setCameraId(0); // Use primary camera
        integrator.setBeepEnabled(true);
        integrator.setBarcodeImageEnabled(false);
        integrator.initiateScan();
    }

    @Override
    protected void onActivityResult(int requestCode, int resultCode, Intent data) {
        IntentResult result = IntentIntegrator.parseActivityResult(requestCode, resultCode, data);
        if(result != null && result.getContents() != null) {
            Intent returnIntent = new Intent();
            returnIntent.putExtra(scannedUrl, result.getContents());
            setResult(RESULT_OK, returnIntent);
        } else {
            setResult(RESULT_CANCELED);
        }
        finish();
    }
}
4. Integrate QR Scanner with WebView Activity
Within your main WebView activity, easily integrate the QR scanner by employing Java-to-WebView communication techniques:
private static final int QR_SCANNER_REQUEST = 123;

public void openQRScanner(){
    Intent scannerIntent = new Intent(this, QRScannerActivity.class);
    startActivityForResult(scannerIntent, QR_SCANNER_REQUEST);
}

@Override
protected void onActivityResult(int requestCode, int resultCode, Intent data) {
    super.onActivityResult(requestCode, resultCode, data);
    if(requestCode == QR_SCANNER_REQUEST && resultCode == RESULT_OK) {
        String scannedUrl = data.getStringExtra(scannedUrl);
        webView.loadUrl(scannedUrl);
    }
}
From your web content inside the WebView, trigger the scanner via JavaScript interface methods, making it even more accessible to your web developers.
Quick and Simple Implementation with WebViewGold
If you seek an even faster and easier way to transform your website into a fully functional Android WebView app featuring QR scanning capabilities, consider solutions such as WebViewGold.com/>WebViewGold. WebViewGold simplifies the process drastically by offering an out-of-the-box solution where you can effortlessly convert websites into feature-rich Android applications without complex coding. Leveraging WebViewGold‘s integration, you can enable highly responsive apps that utilize Java-native functionalities like QR code scanners with minimal effort.
Optimizing and Testing Your App Performance
Once the implementation is complete, thoroughly test your application across various devices and Android versions. Performance tuning and ensuring the camera permission handling is user-friendly improves UX significantly. Regularly updating your libraries and dependencies will also safeguard compatibility.
Benefits of QR Scanning Functionality in WebView Apps
- Improved User Engagement: Quick access to digital content enhances interactivity.
- Enhanced Convenience: Eliminates manual content access.
- Increased Functional Capabilities: Extends your app’s functionality beyond standard browsing.
- User Retention: Interactive user experiences build stronger user loyalty and retention rates.
Conclusion
Adding QR code scanner functionality to your Android WebView app via Java integration can dramatically elevate user engagement. By simplifying content accessibility, you provide considerable value to your mobile audience. If rapid deployment with minimal effort appeals to you, leveraging streamlined solutions like WebViewGold offers exceptional productivity benefits, allowing you to quickly launch powerful, QR-enabled Android apps tailored specifically for your digital presence needs.
Leave a Reply