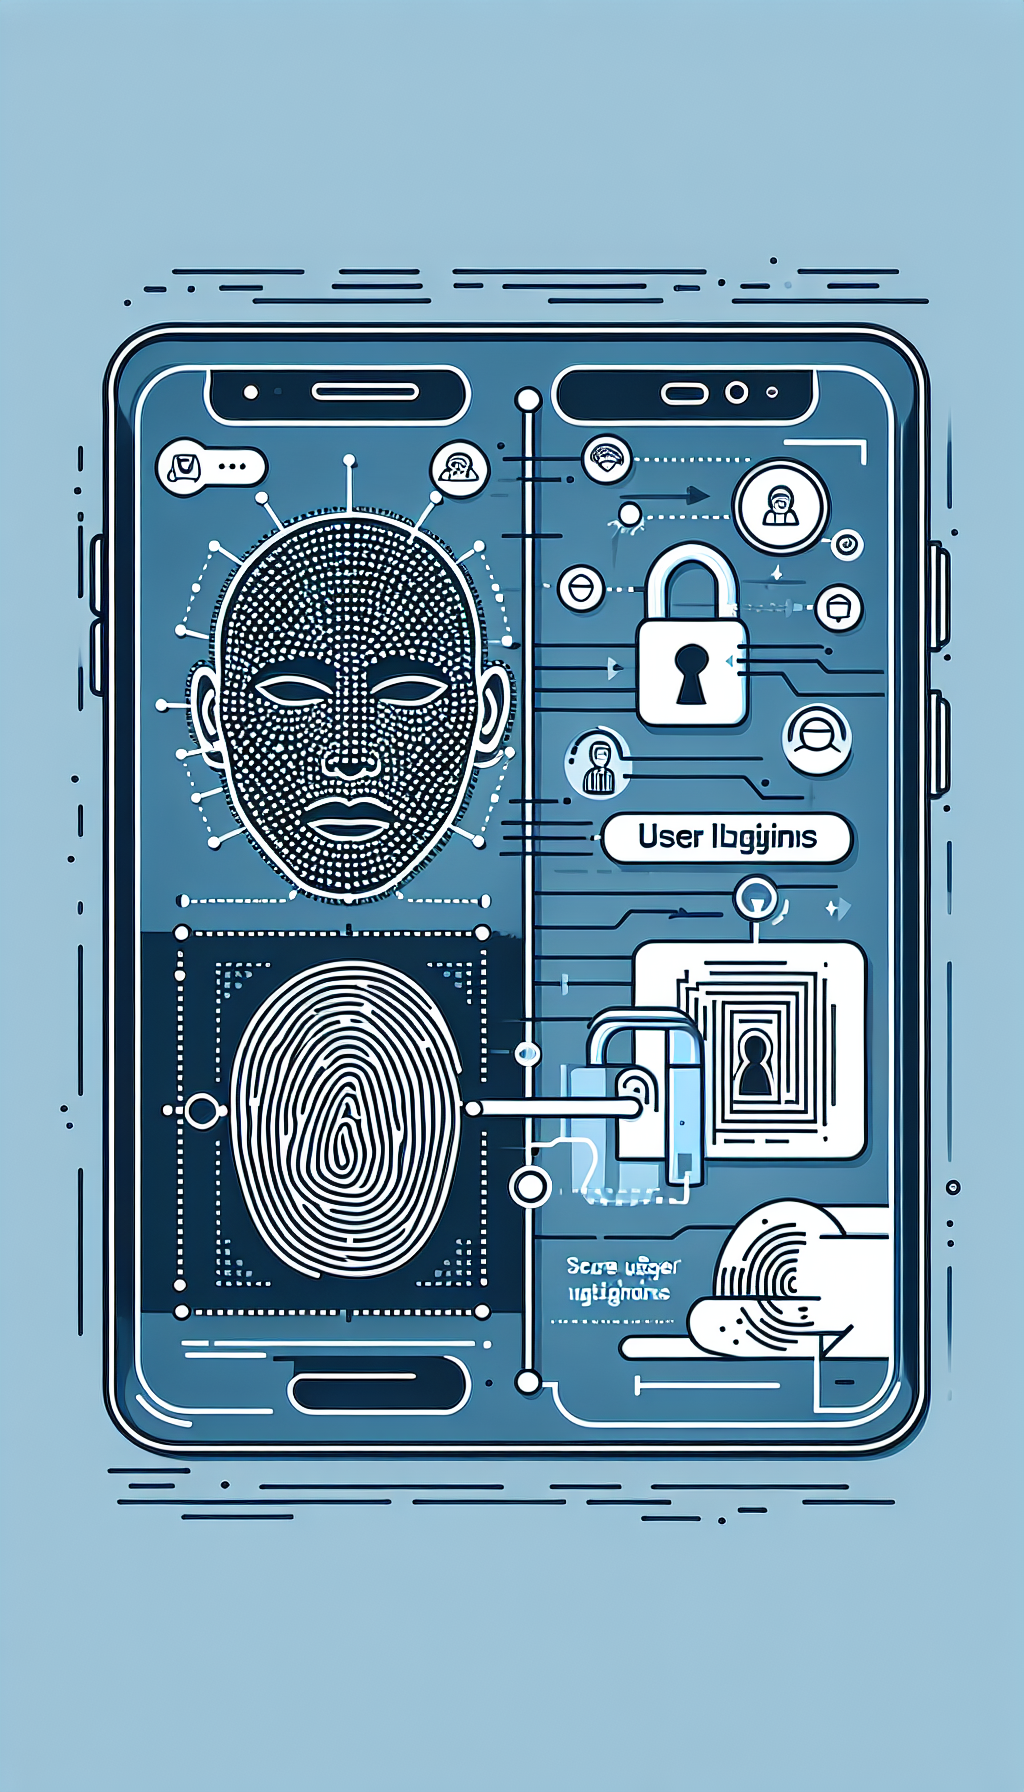
Why Implement Biometric Authentication in Your App
Biometric authentication methods like Face ID and Touch ID enhance security by verifying user identities based on their unique physical characteristics. It eliminates the need for complex passwords, reducing friction during login processes and enhancing user satisfaction. Integrating these methods into WebView-based apps combines the convenience of web technologies with the security capabilities native to the iOS platform.
Prerequisites Before Implementation
- Xcode development environment installed on your Mac.
- An iOS developer account and provisioning profile.
- An existing iOS WebView app or website ready to convert into an app.
Step-by-Step Implementation of Biometric Authentication (Face ID & Touch ID)
Step 1: Import LocalAuthentication Framework
To support biometric authentication, first import the LocalAuthentication framework in your Swift class file:
import LocalAuthentication
Step 2: Checking Device Compatibility
Before initiating biometric authentication, check if the user’s device supports Face ID or Touch ID. The following Swift code snippet handles this effectively:
func authenticateUser() {
    let context = LAContext()
    var error: NSError?

    if context.canEvaluatePolicy(.deviceOwnerAuthenticationWithBiometrics, error: &error) {
        let reason = Log in to your account securely

        context.evaluatePolicy(.deviceOwnerAuthenticationWithBiometrics, localizedReason: reason) { success, authenticationError in
            DispatchQueue.main.async {
                if success {
                    // User authenticated successfully
                    self.allowLogin()
                } else {
                    // Authentication failed
                    self.showAuthFailedAlert()
                }
            }
        }
    } else {
        // Biometrics not available
        self.showBiometricUnavailableAlert()
    }
}
Step 3: Handling Successful Authentication
After successful authentication, handle login logic accordingly, such as loading specific URLs or allowing users to access restricted content within your WebView:
func allowLogin() {
    if let url = URL(string: https://your.website.com/secure-dashboard) {
        let request = URLRequest(url: url)
        webView.load(request)
    }
}
Step 4: Managing Authentication Errors and Failures
It’s important to gracefully manage cases where authentication fails or biometrics are unavailable:
func showAuthFailedAlert() {
    let alert = UIAlertController(title: Authentication Failed, message: Couldn't verify your identity. Please try again., preferredStyle: .alert)
    alert.addAction(UIAlertAction(title: OK, style: .default))
    present(alert, animated: true)
}

func showBiometricUnavailableAlert() {
    let alert = UIAlertController(title: Biometric Authentication Unavailable, message: Your device does not support Face ID or Touch ID., preferredStyle: .alert)
    alert.addAction(UIAlertAction(title: OK, style: .default))
    present(alert, animated: true)
}
Tips for Optimizing User Experience
- Clearly communicate reasons for biometric use through localized messages.
- Implement fallback options, such as PIN or password login, in case biometrics fail.
- Regularly test on multiple devices to ensure compatibility and reliability.
Easily Convert Websites into WebView Apps with WebViewGold
If you’re looking for a quick and simple solution to create WebView-based mobile applications for Android, consider using WebViewGold. WebViewGold simplifies the process of turning websites into full-fledged, reliable mobile apps effortlessly. It’s a powerful, user-friendly tool that significantly speeds up your app development workflow without needing extensive programming knowledge. While this tutorial covers biometric implementation on iOS, WebViewGold provides equally convenient solutions for Android apps as well.
Final Thoughts
Leave a Reply