As mobile technology evolves rapidly, users now expect seamless and secure login experiences in their applications. Apple’s Face ID authentication offers an efficient biometric solution that significantly enhances the user experience by providing swift and secure user validation. If you’re developing an iOS WebView app, integrating Face ID authentication is not only a convenient feature for your users, but it also ensures robust security measures for sensitive data.
Let’s take a closer look at how you can integrate Face ID authentication in your iOS WebView application and what benefits this advanced biometric system offers.
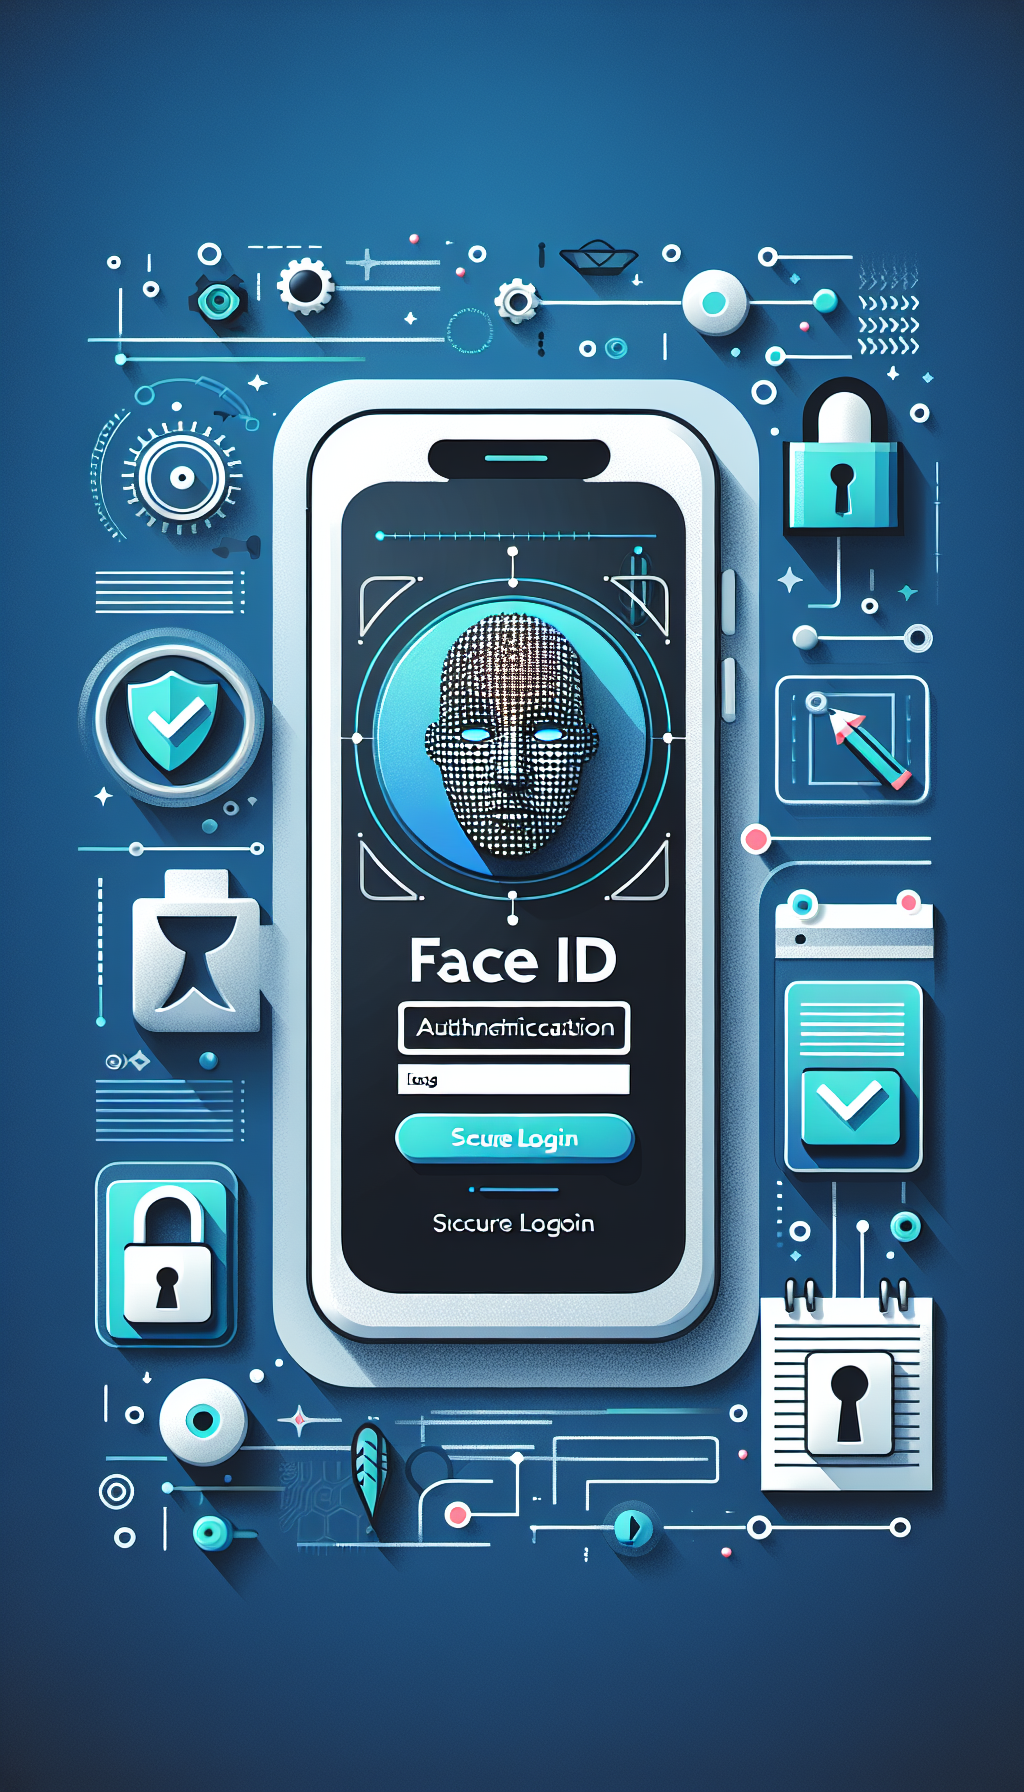
Understanding Face ID Authentication
Face ID is a powerful biometric authentication technology developed by Apple, enabling users to securely unlock their devices and verify payments or logins using facial recognition. Utilizing the front-facing TrueDepth camera system, Face ID accurately maps and analyzes the user’s face, ensuring this process is both secure and reliable.
When implementing Face ID authentication in an iOS WebView app, developers leverage Apple’s LocalAuthentication framework to request biometric verification before granting access to secured content within the app.
Benefits of Implementing Face ID in Your iOS WebView App
Integrating Face ID Authentication into your WebView-based iOS app provides multiple outstanding benefits:
- Enhanced Security: Facial recognition technology significantly reduces vulnerability compared to traditional password logins.
- User Convenience: Users appreciate the effortless nature of biometric authentication as opposed to remembering complex passwords.
- Faster Access: Face ID enables rapid user verification, allowing users instant access to your web app’s content.
- Reduced Support Costs: Decreased reliance on passwords translates into fewer user authentication issues, reducing overall support needs.
- Improved User Retention: Offering secure and smooth authentication boosts user confidence in your app, increasing overall user retention.
Setting Up Face ID Authentication Using LocalAuthentication Framework
To implement Face ID into your WebView-enabled iOS app, follow these simple technical steps provided by Apple’s LocalAuthentication framework:
- Add the LocalAuthentication framework to your Xcode project by including import LocalAuthentication in your Swift files.
- Create an instance of the LAContext class to initiate authentication requests.
- Call the function canEvaluatePolicy() on your context object to check if the device supports Face ID authentication.
- Invoke evaluatePolicy(_:localizedReason:reply:), passing in .deviceOwnerAuthenticationWithBiometrics as parameter, to trigger the Face ID authentication prompt.
- Handle the response accordingly: grant access on successful authentication, or provide fallback methods and relevant error handling as necessary.
A Quick Note on WebViewGold
For developers looking to quickly and efficiently transform existing websites into fully-featured mobile apps, WebViewGold offers a seamless, easy-to-use tool that automatically converts responsive websites into native-like applications. This solution simplifies the entire process, enabling even non-tech-savvy business owners to have both iOS and Android applications ready quickly. Keep WebViewGold in mind if your project requires rapid development and deployment across multiple platforms including Android.
Testing Your Implementation
Once you’ve integrated Face ID authentication into your WebView app, thorough testing is critical to ensure the successful implementation of biometric login functionality across all supported devices. Be sure to:
- Test early and often during your development process.
- Allow ample opportunity for feedback from real-world users.
- Check the Face ID authentication process on different iPhone models that support the TrueDepth camera system.
- Assess security fallbacks for specific cases when Face ID may be disabled or unavailable.
Conclusion: Strengthening Your WebView App Through Face ID Authentication
Leave a Reply