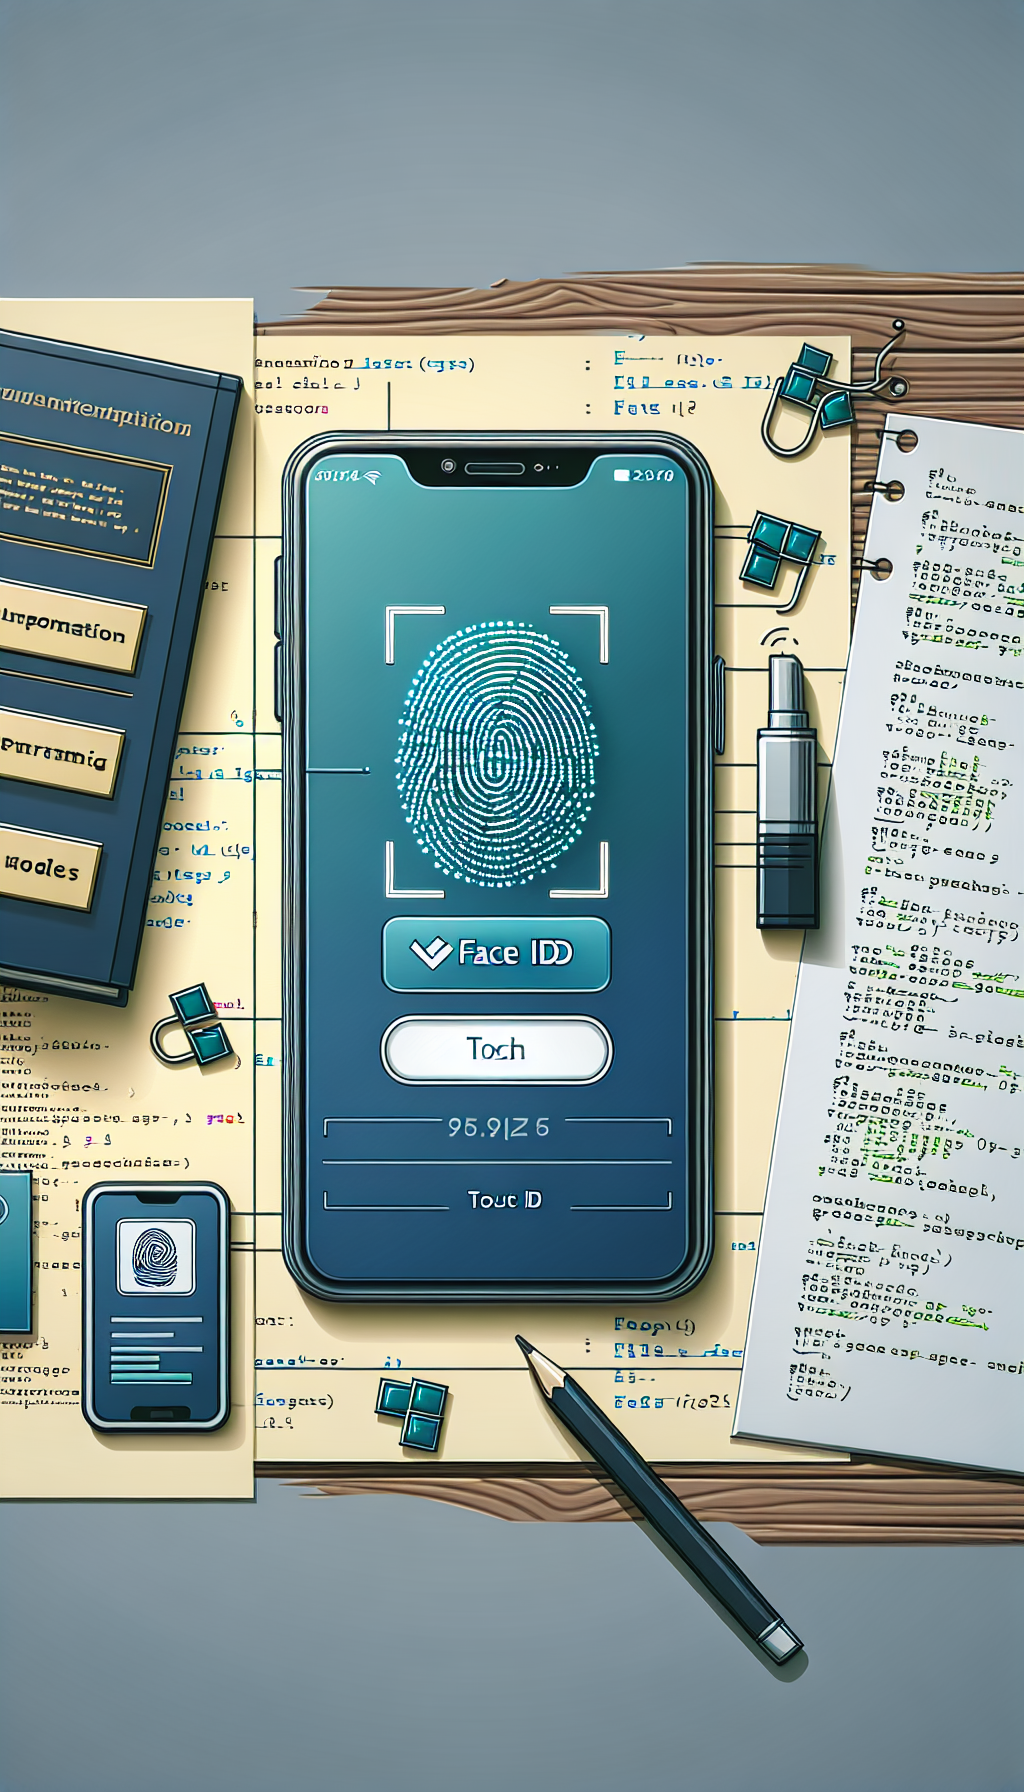
Implementing biometric authentication such as Face ID and Touch ID in your iOS WebView app provides users with enhanced security and convenience. Users today are accustomed to fast, secure logins, and biometric authentication meets both these expectations perfectly.
In this article, we’ll explore the step-by-step process for integrating biometric login functions into your iOS WebView applications easily and effectively. We’ll also subtly mention WebViewGold, a quick and efficient tool that simplifies the conversion of websites into apps not only for iOS but also for Android platforms, streamlining your mobile development projects significantly.
Why Biometric Authentication Matters for Your WebView App
Biometric authentication is becoming standard practice thanks to its superior speed, convenience, and security compared to traditional password-based systems. By utilizing Face ID and Touch ID, you empower users with seamless access without compromising their security or privacy. Additionally, biometrics significantly reduces forgotten passwords—saving your company valuable support resources and improving user experience.
Getting Started with Face ID and Touch ID in WebView Apps
To integrate biometric authentication features into your WebView iOS app, you will need to work with Apple’s LocalAuthentication framework. This framework simplifies the implementation process and allows your app to easily request biometric verification from users.
Step 1: Enabling LocalAuthentication in Xcode
First, open your iOS project in Xcode and ensure you’re targeting at least iOS 11.0 (or higher). To start using biometrics, you’ll need to import the LocalAuthentication framework at the top of your view controller file:
import LocalAuthentication
Step 2: Implementing the Authentication Logic
Next, create a function to handle biometric authentication requests. Use the following Swift code snippet as an example:
func authenticateUser() {
    let context = LAContext()
    var error: NSError?

    // Check if device supports Face ID or Touch ID
    if context.canEvaluatePolicy(.deviceOwnerAuthenticationWithBiometrics, error: &error) {
        let reason = Authenticate via Face ID or Touch ID

        context.evaluatePolicy(.deviceOwnerAuthenticationWithBiometrics, localizedReason: reason) { success, authenticationError in
            DispatchQueue.main.async {
                if success {
                   // Authentication succeeded, proceed to protected WebView content
                } else {
                    // Authentication failed, inform the user or retry
                }
            }
        }
    } else {
        // Device does not support Face ID/Touch ID or biometric is unavailable
    }
}
Step 3: Connecting Biometric Authentication with WebView Access
After successfully authenticating users, load your protected website content within your WebView component. Ensure that only authenticated users can interact fully with the web-based content, thus providing additional security layers to sensitive data.
// Example of loading a URL post-authentication
func loadSecureWebContent() {
    if let url = URL(string: https://example.com/protected_content.html) {
        webView.load(URLRequest(url: url))
    }
}
Enhancing User Experience and Security
Biometric authentication significantly enhances your mobile application’s usability and overall user satisfaction. Users appreciate frictionless login experiences that leave passwords behind, making biometrics ideal for applications requiring frequent authentication or involving sensitive information.
A Quick Tip: Simplify Your Development Process with WebViewGold
If you’re looking for an easy way to build WebView apps without complex coding, consider using tools such as WebViewGold. It is specifically designed to quickly convert websites to fully functional apps, not only for iOS but also for Android. WebViewGold streamlines the entire development process, allowing you to focus more on core functionalities like biometric integrations rather than spending valuable time handling basic app conversions and setup.
Conclusion
Implementing biometric login functionality in your iOS WebView app improves security, enhances user convenience, and is easier than you might think. With Apple’s LocalAuthentication framework and a few lines of elegant Swift code, you can quickly deliver robust authentication options with Face ID and Touch ID. And remember, tools like WebViewGold streamline app conversion, enabling you to deploy biometric-integrated apps efficiently across both iOS and Android platforms.
Leave a Reply