Integrating advanced biometric authentication methods like Face ID and Touch ID into your iOS WebView-based app delivers enhanced security, convenience, and a seamless user experience. Let’s dive deeply into how you can leverage modern JavaScript APIs to efficiently tap into these native features with ease.
Understanding Bio Authentication: Face ID & Touch ID
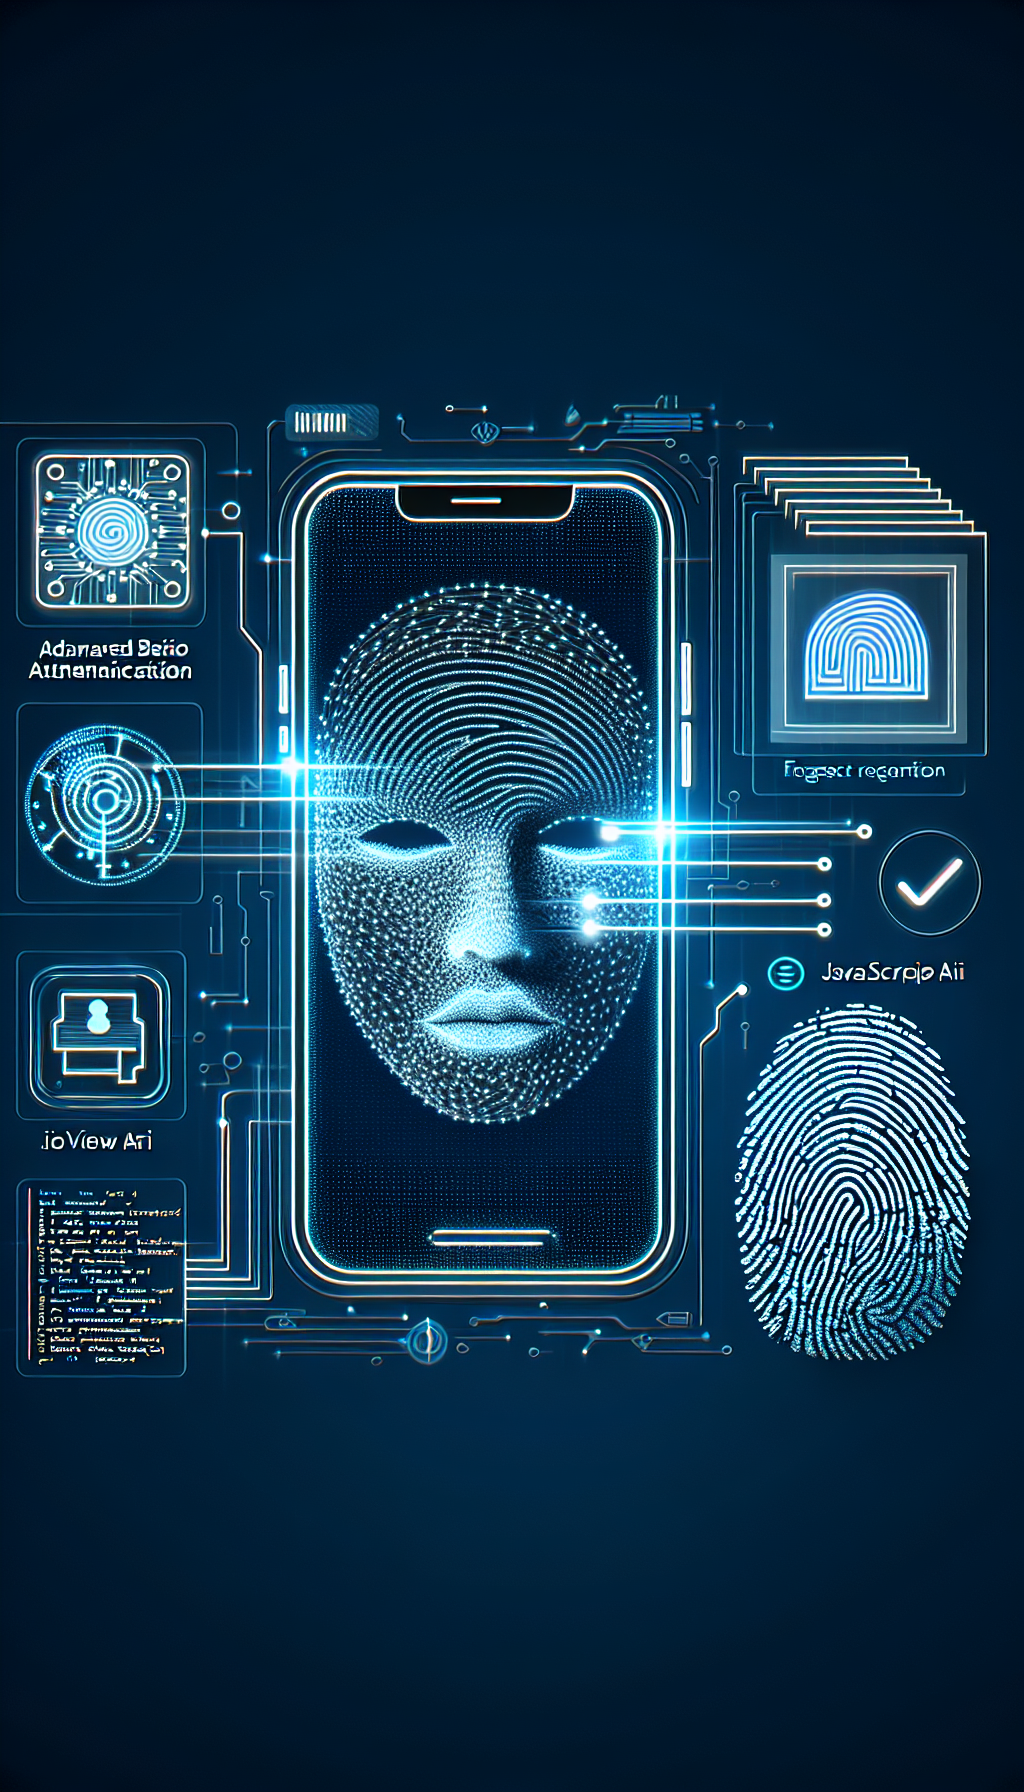
Biometric authentication harnesses unique physical characteristics—such as facial recognition (Face ID) or fingerprint scanning (Touch ID)—to securely authenticate users quickly. In iOS mobile apps, this technology significantly improves user satisfaction by reducing dependency on cumbersome password inputs and enhancing security.
Advantages of Implementing Biometric Security in WebView Apps
- Enhanced User Experience: Users enjoy quick and secure login procedures without typing complex passwords repeatedly.
- Improved Security: Biometrics offer stronger protection than traditional PIN or password-based authentication.
- High Adoption Rates: Familiarity with biometrics leads users to feel comfortable and secure using your app.
Step-By-Step Guide to Implementing Face ID & Touch ID Authentication in Your WebView-Based App Using JavaScript API
To integrate biometric authentication into your existing WebView-based iOS app, follow these clear steps:
Step 1: Setting Up Your WebView Environment
Ensure you’ve already set up your app’s WebView correctly within Xcode. Use WKWebView instead of the older UIWebView for improved performance, compliance, and seamless integration capabilities.
Step 2: Configure the Native Side of Your iOS App
Add support for biometric authentication natively by including the LocalAuthentication Framework in your project. Here’s a simplified Swift example snippet for biometric authentication:
import LocalAuthentication

func authenticateUser(completion: @escaping (Bool, Error?) -> Void) {
    let context = LAContext()
    var error: NSError?

    if context.canEvaluatePolicy(.deviceOwnerAuthenticationWithBiometrics, error: &error) {
        context.evaluatePolicy(.deviceOwnerAuthenticationWithBiometrics, localizedReason: Authenticate to access) { success, authError in
            DispatchQueue.main.async {
                completion(success, authError)
            }
        }
    } else {
        DispatchQueue.main.async {
            completion(false, error)
        }
    }
}
Step 3: Bridging JavaScript API with iOS Native Code
Use JavaScript bridge methods to connect between your web content and native biometric functions. A straightforward approach is implementing message handlers within WKWebView configuration:
// Swift Example: Add Message Handler to WKWebView Configuration
let configuration = WKWebViewConfiguration()
configuration.userContentController.add(self, name: bioAuthHandler)
let webView = WKWebView(frame: .zero, configuration: configuration)

// Handle JavaScript Messages in Swift
extension ViewController: WKScriptMessageHandler {
    func userContentController(_ userContentController: WKUserContentController, didReceive message: WKScriptMessage) {
        if message.name == bioAuthHandler {
            authenticateUser { success, error in
                let response = [authenticated: success]
                // Return authentication result back to JavaScript
                self.webView.evaluateJavaScript(handleBioAuthResponse(\(response)), completionHandler: nil)
            }
        }
    }
}
Step 4: Calling Native Methods from JavaScript
JavaScript code in your
Leave a Reply