
推送通知 API(OneSignal、Firebase、Pushwoosh)
使用 OneSignal、Firebase 或 Pushwoosh 向您的 iOS 应用用户发送推送通知——详解设置、深度链接和按用户定向。
推送通知是无需打开应用就能在您的智能手机上显示的通知。此类消息可实现与客户和应用用户的绝佳互动。您的应用无需处于打开状态即可接收此类通知。这样,您的客户就不会错过任何重要的新闻或消息。推送通知适用于多种场景,例如订单更新、实时动态或社交媒体社区。应用用户必须联网才能接收推送消息。WebViewGold 支持通过多种方式向您的用户发送推送通知。如果您不希望使用推送通知,请打开 Config.swift,将 askforpushpermissionatfirstrun 设置为 false,以避免向应用用户请求通知权限。
方案 1:使用本地推送通知的 JavaScript API
您可以在网站中插入一段代码(JavaScript)来定义一条推送通知,该通知可以在您的应用关闭之后显示(在应用打开时进行计划安排)。此方式完全不需要 OneSignal 配置。
  <script>
  var title = "Your cart is waiting!"; //notification title
  var message = "You have left a cart full of dreams and deals behind. Dont leave it feeling abandoned"; //notification message
  var seconds = 120; //seconds from now on
  var url = "https://myshop.org/cart.php"; //deep-linking URL

  window.location.href = "sendlocalpushmsg://push.send?s="+ seconds +"=msg!"+ message +"&!#"+ title +"&!#"+ url +"";
  </script>
此功能可用于多种情境(倒计时、欢乐时光、特定提醒等)。
要取消所有已计划的本地推送通知,请运行:
  <script>
  window.location.href = "sendlocalpushmsg://push.send.cancel";
  </script>
检查原生推送权限状态
调用 checkNativePushPermissions:// 可检查用户是否已授予 iOS 原生通知权限。结果会以 JavaScript 变量 nativePushEnabled(true 或 false)注入到您的 Web 应用中——例如,当通知被禁用时,可用于显示您自己的提示并链接到应用设置:
<script>
window.location.href = "checkNativePushPermissions://";
setTimeout(function() {
  if (typeof nativePushEnabled !== "undefined" && !nativePushEnabled) {
    // 例如:显示一个链接到 settingsapp:// 的横幅
  }
}, 500);
</script>
方案 2:使用 Pushwoosh 远程推送通知
WebViewGold 用户可享受两个月免费的 Pushwoosh 服务!
要享受此优惠,请将您的 WebViewGold 许可证发送电子邮件至 [email protected],稍后您将收到专属回复。
如果您希望在应用中使用 Pushwoosh(这是不错的选择!)来发送推送通知,只需在 Config.swift 中启用相应选项,将 kPushwooshEnable 设置为 true,并确保将 Info.plist 文件中的 Pushwoosh_APPID 更新为您自己的 Pushwoosh 应用 ID。


请务必在 Pushwoosh 官网上完成 Pushwoosh 的设置,包括证书的导入。
恭喜,您已完成设置。现在可以发送推送通知了:

想要获取每位用户的独立设备 ID,用于个性化推送通知或进一步处理?只需在 Config.swift 中将 kPushwooshEnhanceUrl 设置为 true,即可在您的 WebView URL 后附加 ?pushwoosh_id=XYZ:
例如,如果您的 WebView URL 为 https://www.example.org,WebViewGold 将改为调用 https://www.example.org?pushwoosh_id=XYZ。请注意,只有首次 URL 请求会接收该 GET 变量,请将其保存在 session 或 cookie 中,以便在关联页面中稍后使用。作为替代或补充方案,您可以在任意页面通过 JavaScript 获取并处理此信息:
<script>
window.location.href = "getpushwooshid://";
alert(pushwooshplayerid);
</script>
方案 3:使用 OneSignal 远程推送通知
如果您希望在应用中使用 OneSignal,请在 Config.swift 中启用这些选项(将值从 false 切换为 true),并确保将占位符 oneSignalID 替换为您自己的 ID。

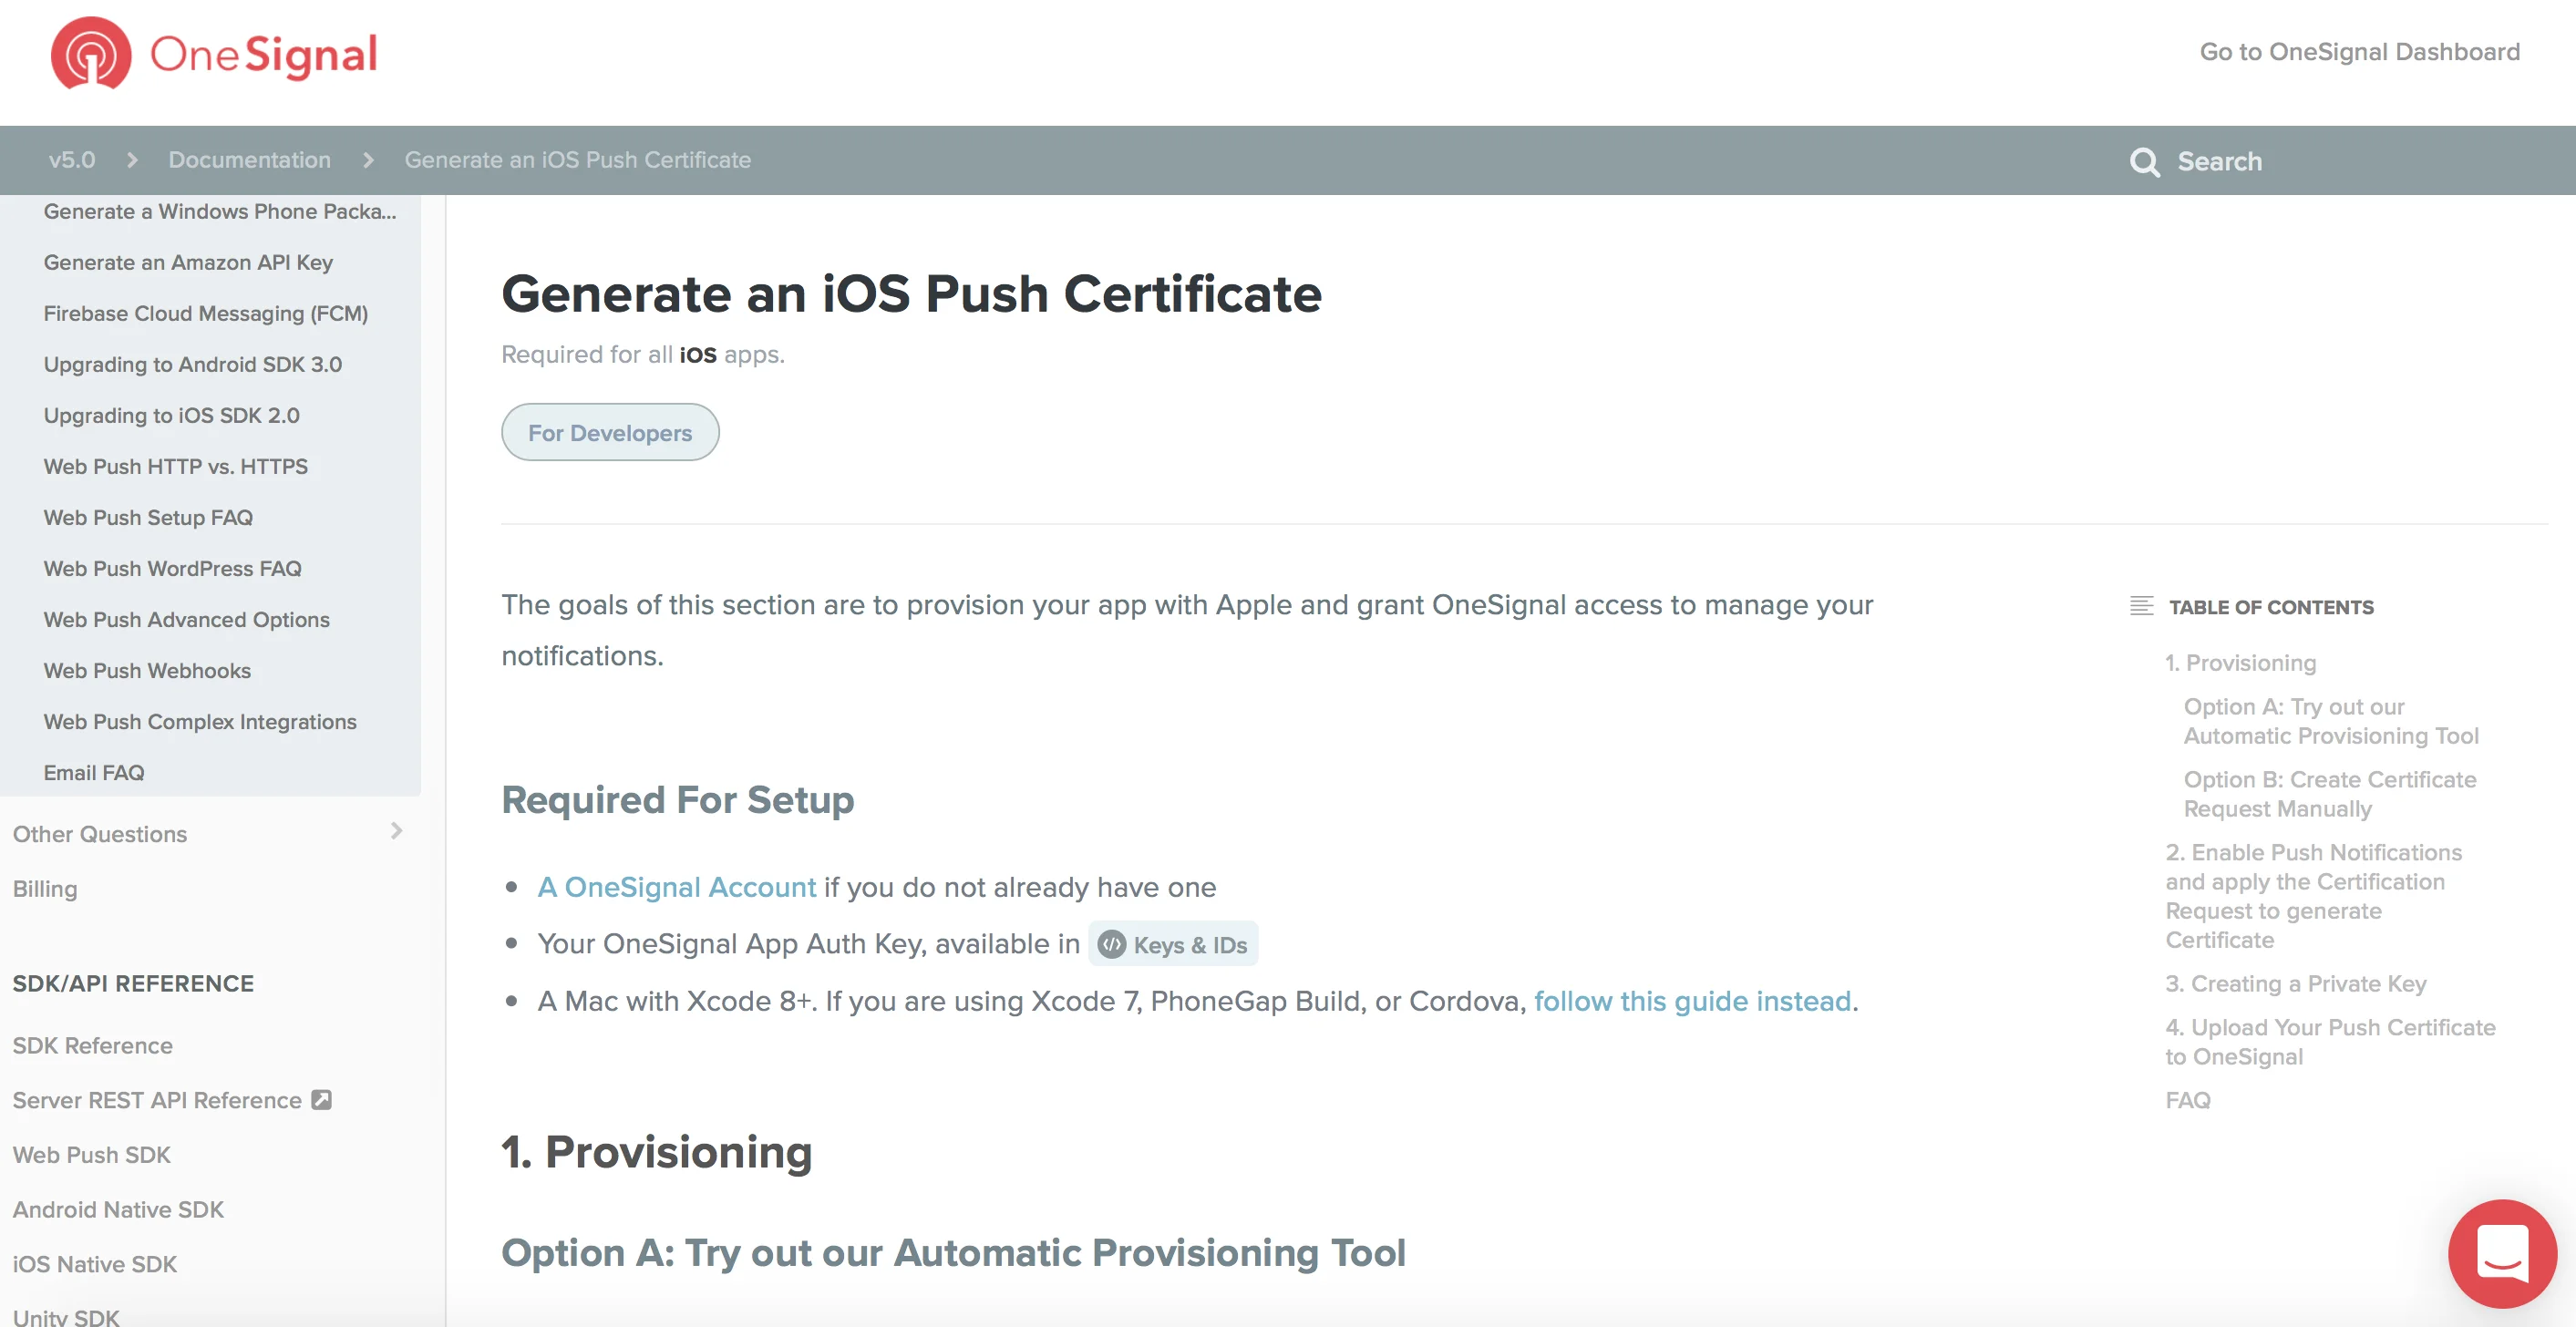
现在生成一个 iOS 推送证书并导入:
太好了,您已完成。现在可以发送推送通知了:
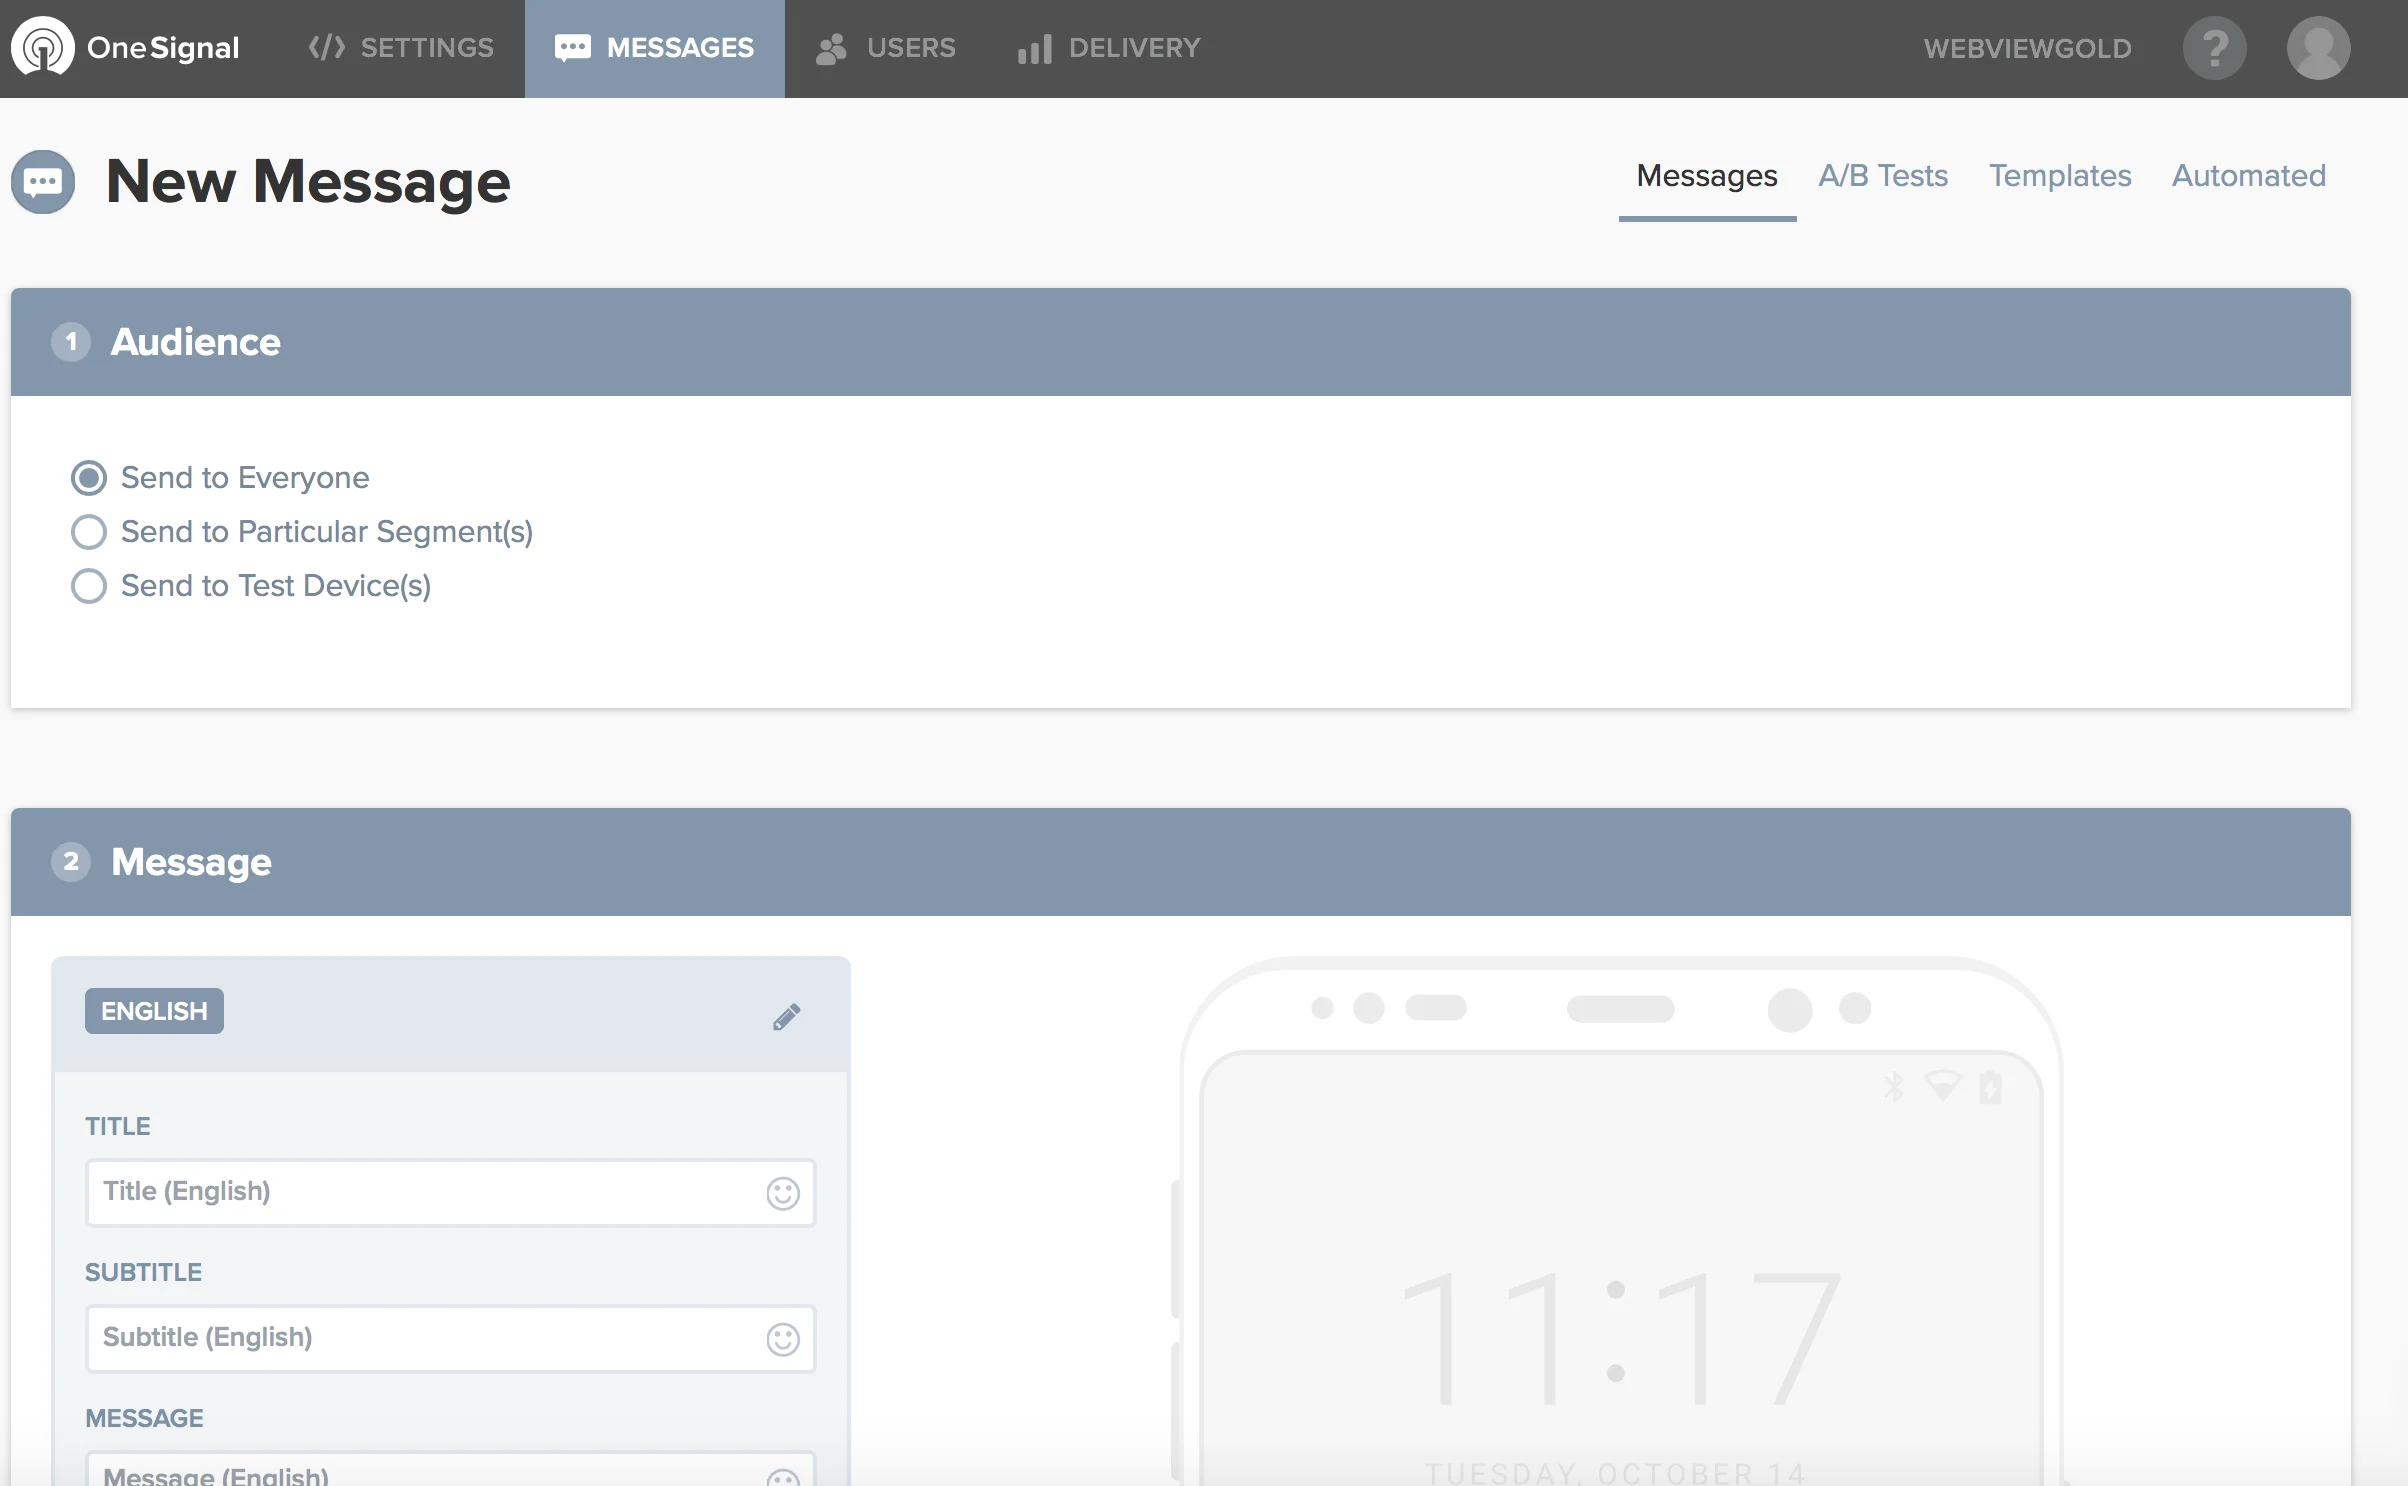
如果您希望使用 OneSignal URL 深度链接(点击通知时打开特定 URL),请通过名为 url 的自定义字段添加所需的 URL: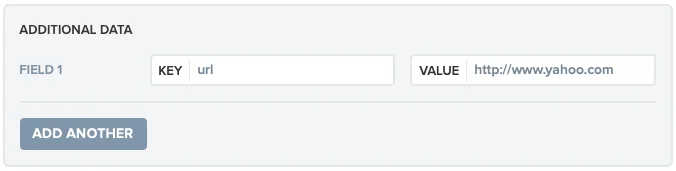
在 OneSignal.com 后台,您可以在点击"Advanced settings"后填写这个键值对窗口。使用 OneSignal API,您可以将"url"字段添加到 API 请求中(https://documentation.onesignal.com/docs/onesignal-api)。
是否希望在您的服务器上获取每个用户的订阅 ID,以便进一步处理并向单个用户发送推送消息?只需在 Config.swift 中启用 kPushEnhanceUrl 选项(将值从 false 切换为 true),即可在您的 WebView URL 后附加 ?onesignal_push_id=XYZ。如果您的 WebView URL 为 https://www.example.org,WebViewGold 将改为调用 https://www.example.org?onesignal_push_id=XYZ。仅首次 URL 请求会获得该 GET 变量,因此请将其保存在 session 或 cookie 中,以便在关联页面中访问它。另一种或额外的方式是在任意页面通过 JavaScript 获取并处理该信息:
<script>
window.location.href = "getonesignalplayerid://";
alert(onesignalplayerid);
</script>
或者,考虑在 Config.swift 中将
autoInjectVariable 设置为 true,以便自动将此值(以及其他值)注入到 JavaScript 中,无需事先调用 URL。
方案 4:使用 Firebase 远程推送通知
第 1 步:创建 Firebase 项目
首先在您的 Firebase Console 中创建一个 Firebase 项目。这是将 Firebase 与您的 WebViewGold 应用集成的前提。
第 2 步:将您的应用注册到 Firebase
Firebase 项目就绪后,您可以按照以下步骤添加您的 WebViewGold 应用:
a. 在 Firebase 控制台中进入项目概览页面,然后选择 iOS 图标以开始应用注册流程。
b. 要将新应用添加到您的项目,请点击添加应用并选择平台选项。当出现提示时,在 iOS bundle ID 字段中输入您应用的 bundle ID。此 ID 至关重要,可通过以下方式获取:
- 在 Xcode 中打开您的应用项目。
- 在导航器顶部选择项目名称以访问 General 标签页。
- 您应用的 bundle ID 显示在 Bundle Identifier 字段下(例如 com.onlineappcreator.webviewgold)。
请确保输入您的应用使用的确切 bundle ID。一旦应用向 Firebase 注册,此值将永久无法更改。
c. 通过提供所需的应用信息完成设置,包括:
- 应用别名:便于您在 Firebase 控制台中参考的识别名称。
- App Store ID:用于 Firebase Dynamic Links 和 Google Analytics 集成所必需。如果您的应用暂时没有,可以稍后添加。
第 3 步:注册您的应用
点击注册应用完成注册流程。
第 4 步:下载 GoogleService-Info.plist
下载此配置文件,并使用下载的 GoogleService-Info.plist 文件替换 WebViewGold 项目中的占位符。
第 5 步:在 WebViewGold 中启用 Firebase
在 Config.swift 文件中,将 kFirebasePushEnabled 变量设置为 true,以启用 Firebase 功能。
第 6 步:设置 APN 并为应用签名
为 Firebase 生成一个 APN 密钥并上传,然后使用 Firebase provisioning profile 为您的应用签名。有关详细指南,请访问 Firebase iOS 证书文档。
第 7 步:实现 URL 深度链接(可选)
要支持 Firebase URL 深度链接,请在 Additional options (optional) 下的 Custom Data 字段中添加目标 URL,Key = "url",Value = {所需 URL}。
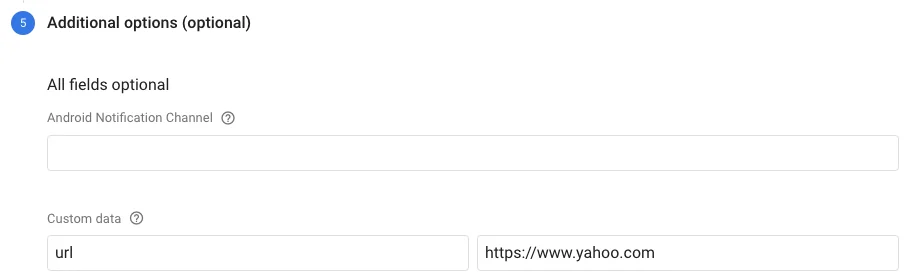
要订阅某个 Firebase topic,请在 Config.swift 中将 firebaseTopic 设置为您想要的 topic 名称。
是否希望在您的服务器上获取每个用户的订阅 ID,以便进一步处理并向单个用户发送推送消息?只需在 Config.swift 中启用 kFirebaseEnhanceUrl 选项(将值从 false 切换为 true),即可在您的 WebView URL 后附加 ?firebase_push_id=XYZ。如果您的 WebView URL 为 https://www.example.org,WebViewGold 将改为调用 https://www.example.org?firebase_push_id=XYZ。仅您的首次 URL 请求会获得该 GET 变量,因此请将其保存在 session 或 cookie 中,以便在关联页面中访问它。另一种或额外的方式是在任意页面通过 JavaScript 获取并处理该信息:
<script>
window.location.href = "getfirebaseplayerid://";
alert(firebaseplayerid);
</script>
或者,考虑在 Config.swift 中将
autoInjectVariable 设置为 true,以便自动将此值(以及其他值)注入到 JavaScript 中,无需事先调用 URL。
方案 5:使用 bubble.io 推送通知
1. 创建一个 bubble.io 应用
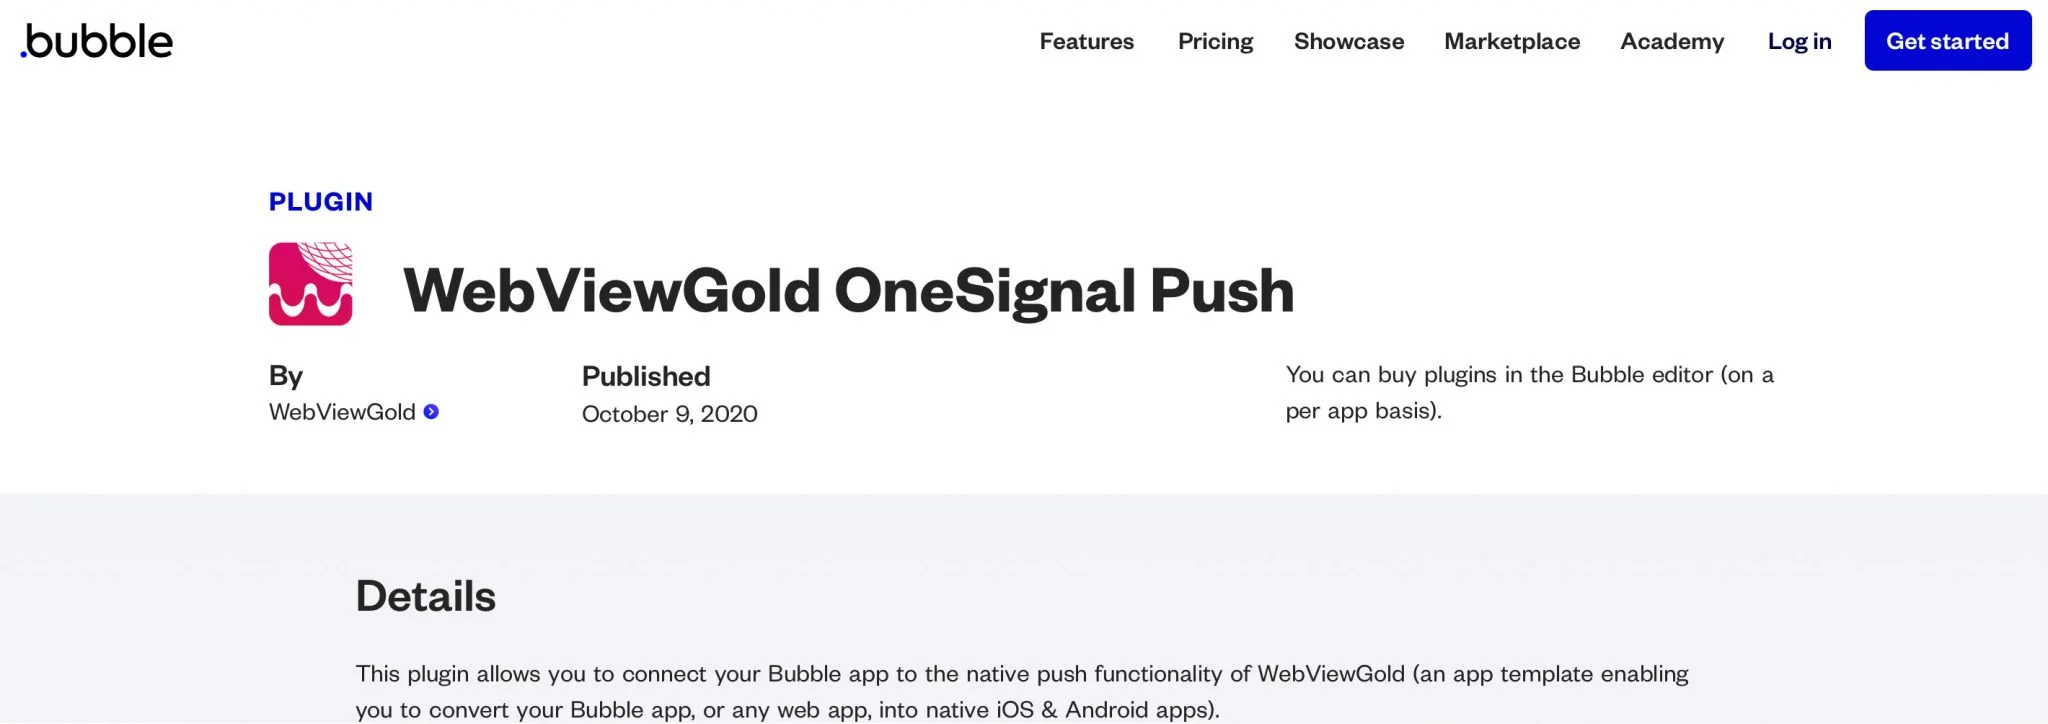
2. 安装 WebViewGold OneSignal Push 插件:
3. 按照 OneSignal 说明(见上文)和插件说明(见此处和此处)操作。