
Push Notifications API (OneSignal, Firebase, Pushwoosh)
Send push notifications to your iOS app users with OneSignal, Firebase, or Pushwoosh — setup, deep links, and per-user targeting explained.
Push notifications are notifications that appear on your smartphone without opening the app. These types of messages allow fantastic interaction with customers and users of the app. Your app does not have to be open to receiving these kinds of notifications. This way, your customers do not miss any important news or messages. Push Notifications are suitable for many cases, e.g., for updates to orders, live tickers, or social media community. There must be an internet connection to allow app users to receive push messages. WebViewGold supports multiple ways of reaching your users via push notifications. If you do NOT want to use push notifications at all, open Config.swift and set askforpushpermissionatfirstrun to false in order to prevent asking the app user for notification permission.
Option 1: Use Local Push Notification JavaScript API
You can insert a piece of code (JavaScript) in your website, to define a push notification, which can be shown after your app was closed (while scheduling it during the app is open). This works without OneSignal configuration at all.
  <script>
  var title = "Your cart is waiting!"; //notification title
  var message = "You have left a cart full of dreams and deals behind. Dont leave it feeling abandoned"; //notification message
  var seconds = 120; //seconds from now on
  var url = "https://myshop.org/cart.php"; //deep-linking URL

  window.location.href = "sendlocalpushmsg://push.send?s="+ seconds +"=msg!"+ message +"&!#"+ title +"&!#"+ url +"";
  </script>
It could be used for different situations (countdowns, happy hours, specific reminders, ...).
To cancel all scheduled local push notifications run:
  <script>
  window.location.href = "sendlocalpushmsg://push.send.cancel";
  </script>
Check the native push permission status
Call checkNativePushPermissions:// to check whether the user has granted the native iOS notification permission. The result is injected into your web app as the JavaScript variable nativePushEnabled (true or false) — useful, for example, to show your own hint linking to the app settings if notifications are disabled:
<script>
window.location.href = "checkNativePushPermissions://";
setTimeout(function() {
  if (typeof nativePushEnabled !== "undefined" && !nativePushEnabled) {
    // e.g., show a banner linking to settingsapp://
  }
}, 500);
</script>
Option 2: Use Pushwoosh Remote Push Notifications
WebViewGold users are eligible for two free months of Pushwoosh!
To claim this offer, please email your WebViewGold License to [email protected] and you will get a personal reply soon.
If you want to use Pushwoosh (good choice!) for push notifications in your app, just activate the options in Config.swift by setting kPushwooshEnable to true and ensure to also update the Pushwoosh_APPID in the Info.plist file with your own Pushwoosh Application ID.


Make sure to also complete Pushwoosh setup on their website including certificate import.
Congratulations, your setup is already completed. You're now ready to send push notifications:

Want to get each individual user's device ID for personalized push notifications or further processing? Simply set kPushwooshEnhanceUrl to true in Config.swift to append ?pushwoosh_id=XYZ to your WebView URL:
For example, if your WebView URL is https://www.example.org, WebViewGold will call https://www.example.org?pushwoosh_id=XYZ instead. Remember, only the initial URL request will receive this GET variable, so please save it in a session or a cookie for later use within your linked pages. Alternatively or additionally, you can retrieve & process this information on any page using JavaScript:
<script>
window.location.href = "getpushwooshid://";
alert(pushwooshplayerid);
</script>
Option 3: Use OneSignal Remote Push Notifications
If you want to use OneSignal in your app, activate these options in Config.swift (by switching the values from false to true) and make sure to also replace the placeholder oneSignalID with your own.

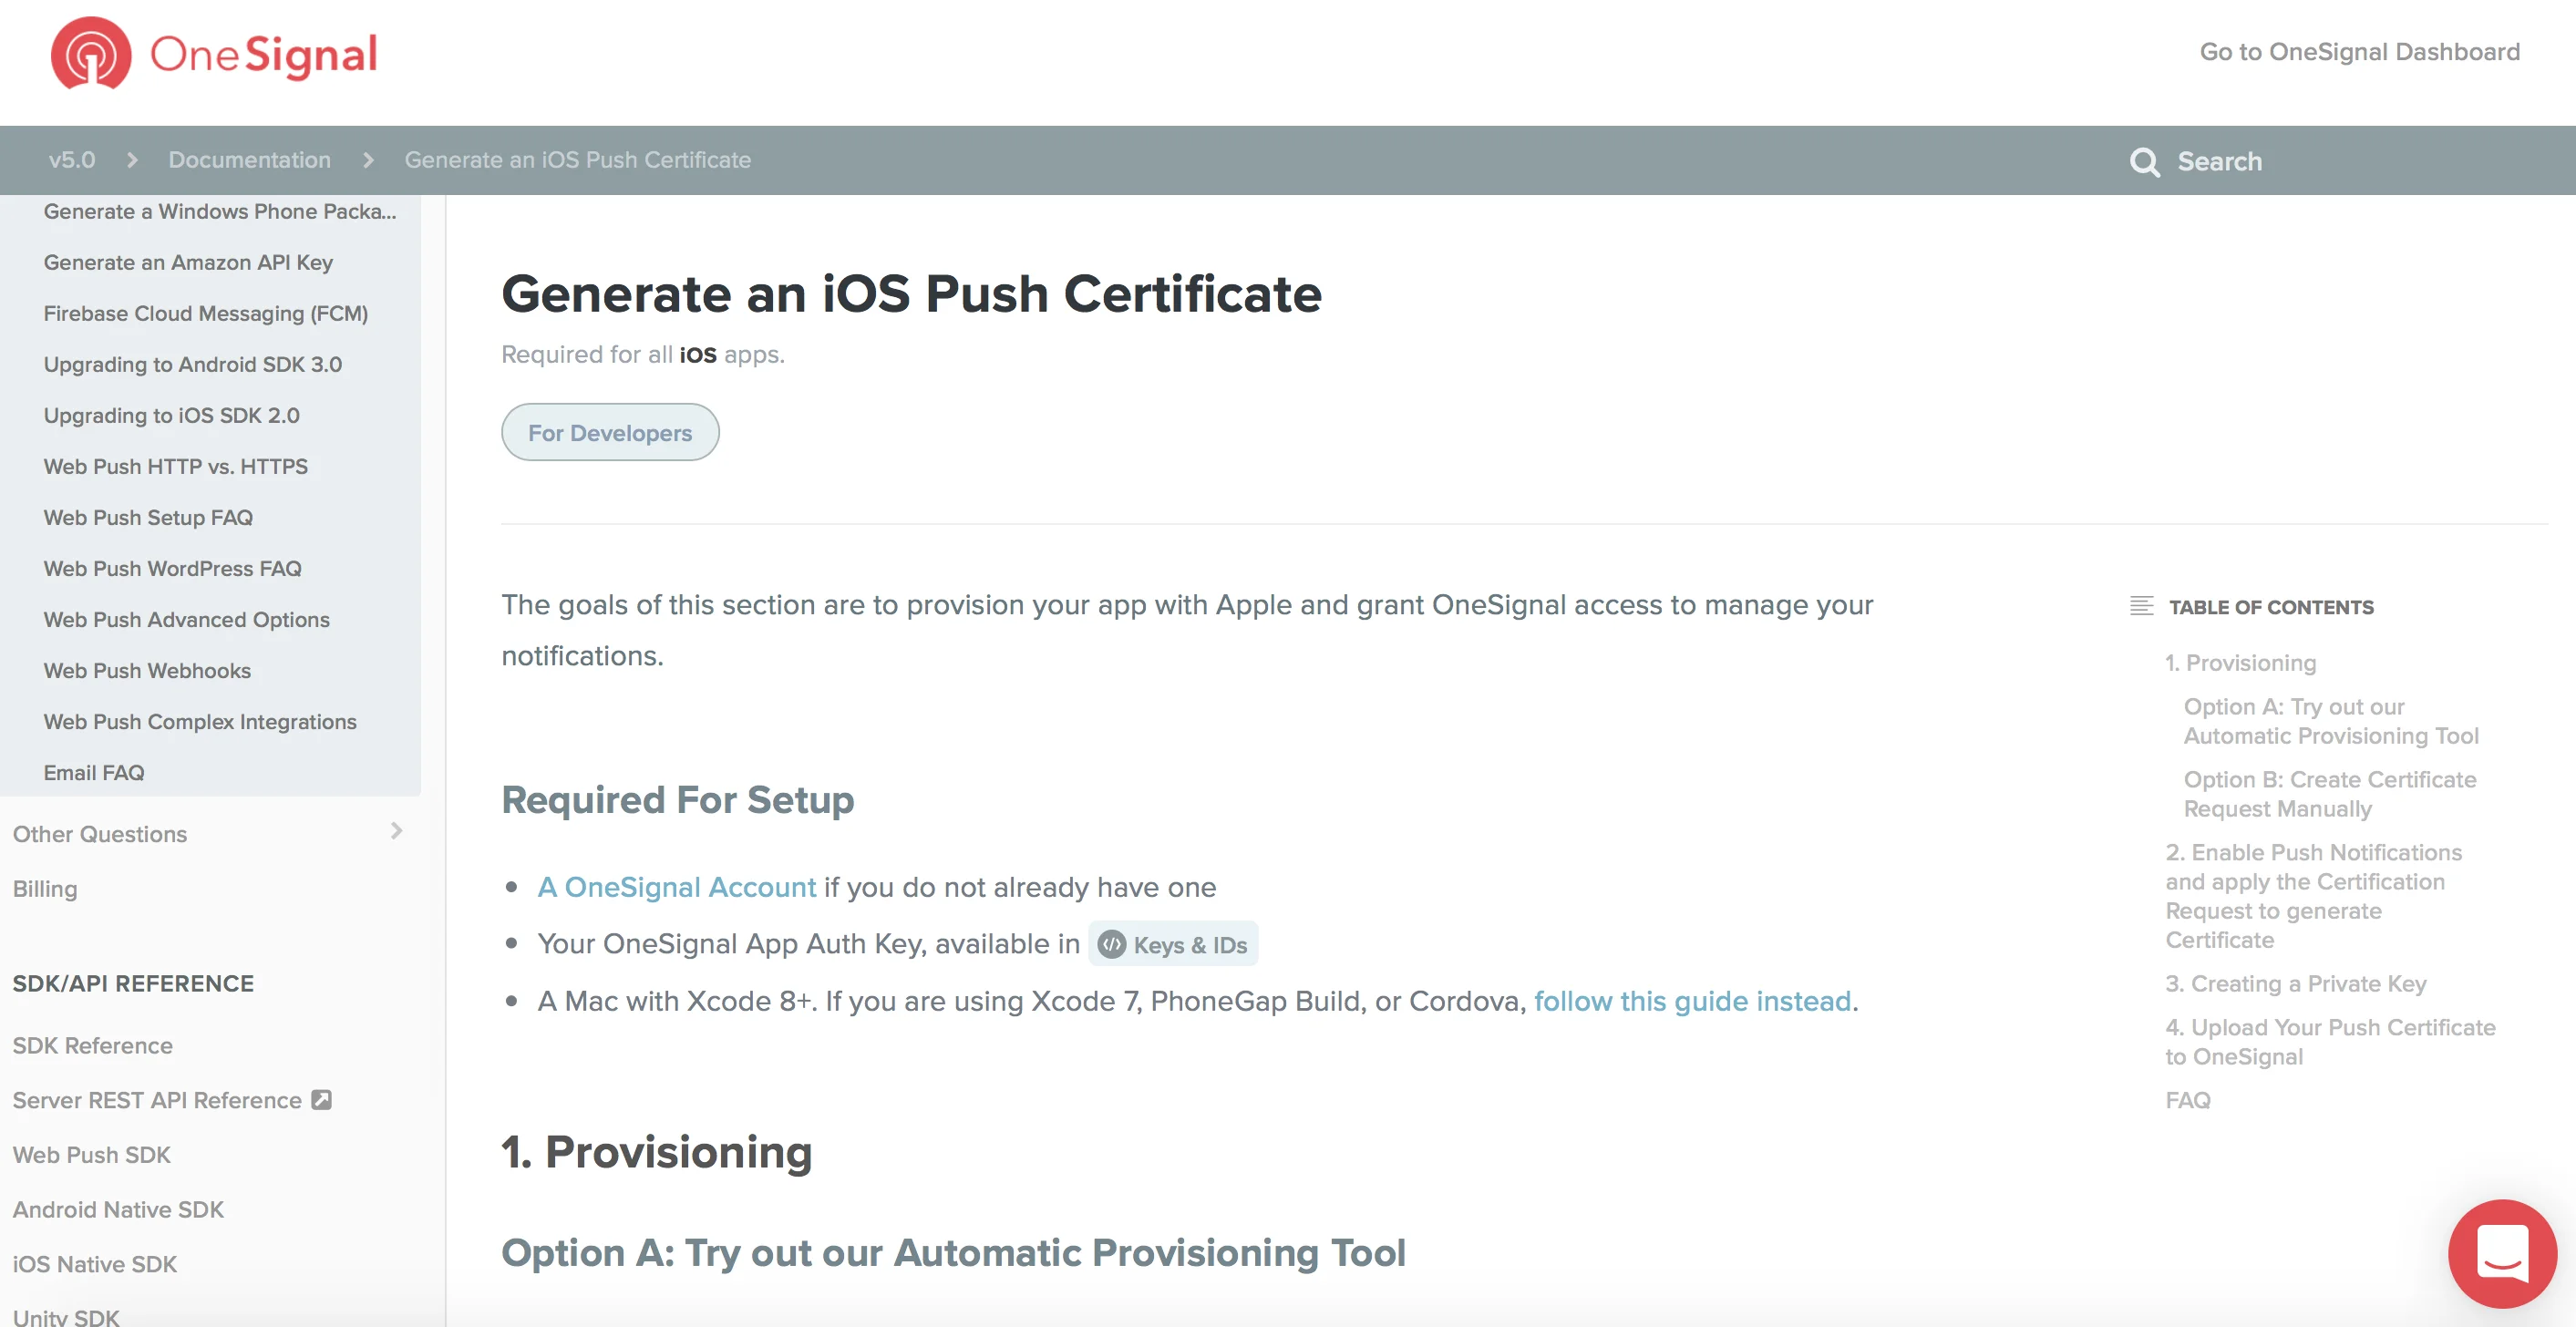
Now Generate an iOS Push Certificate and import it:
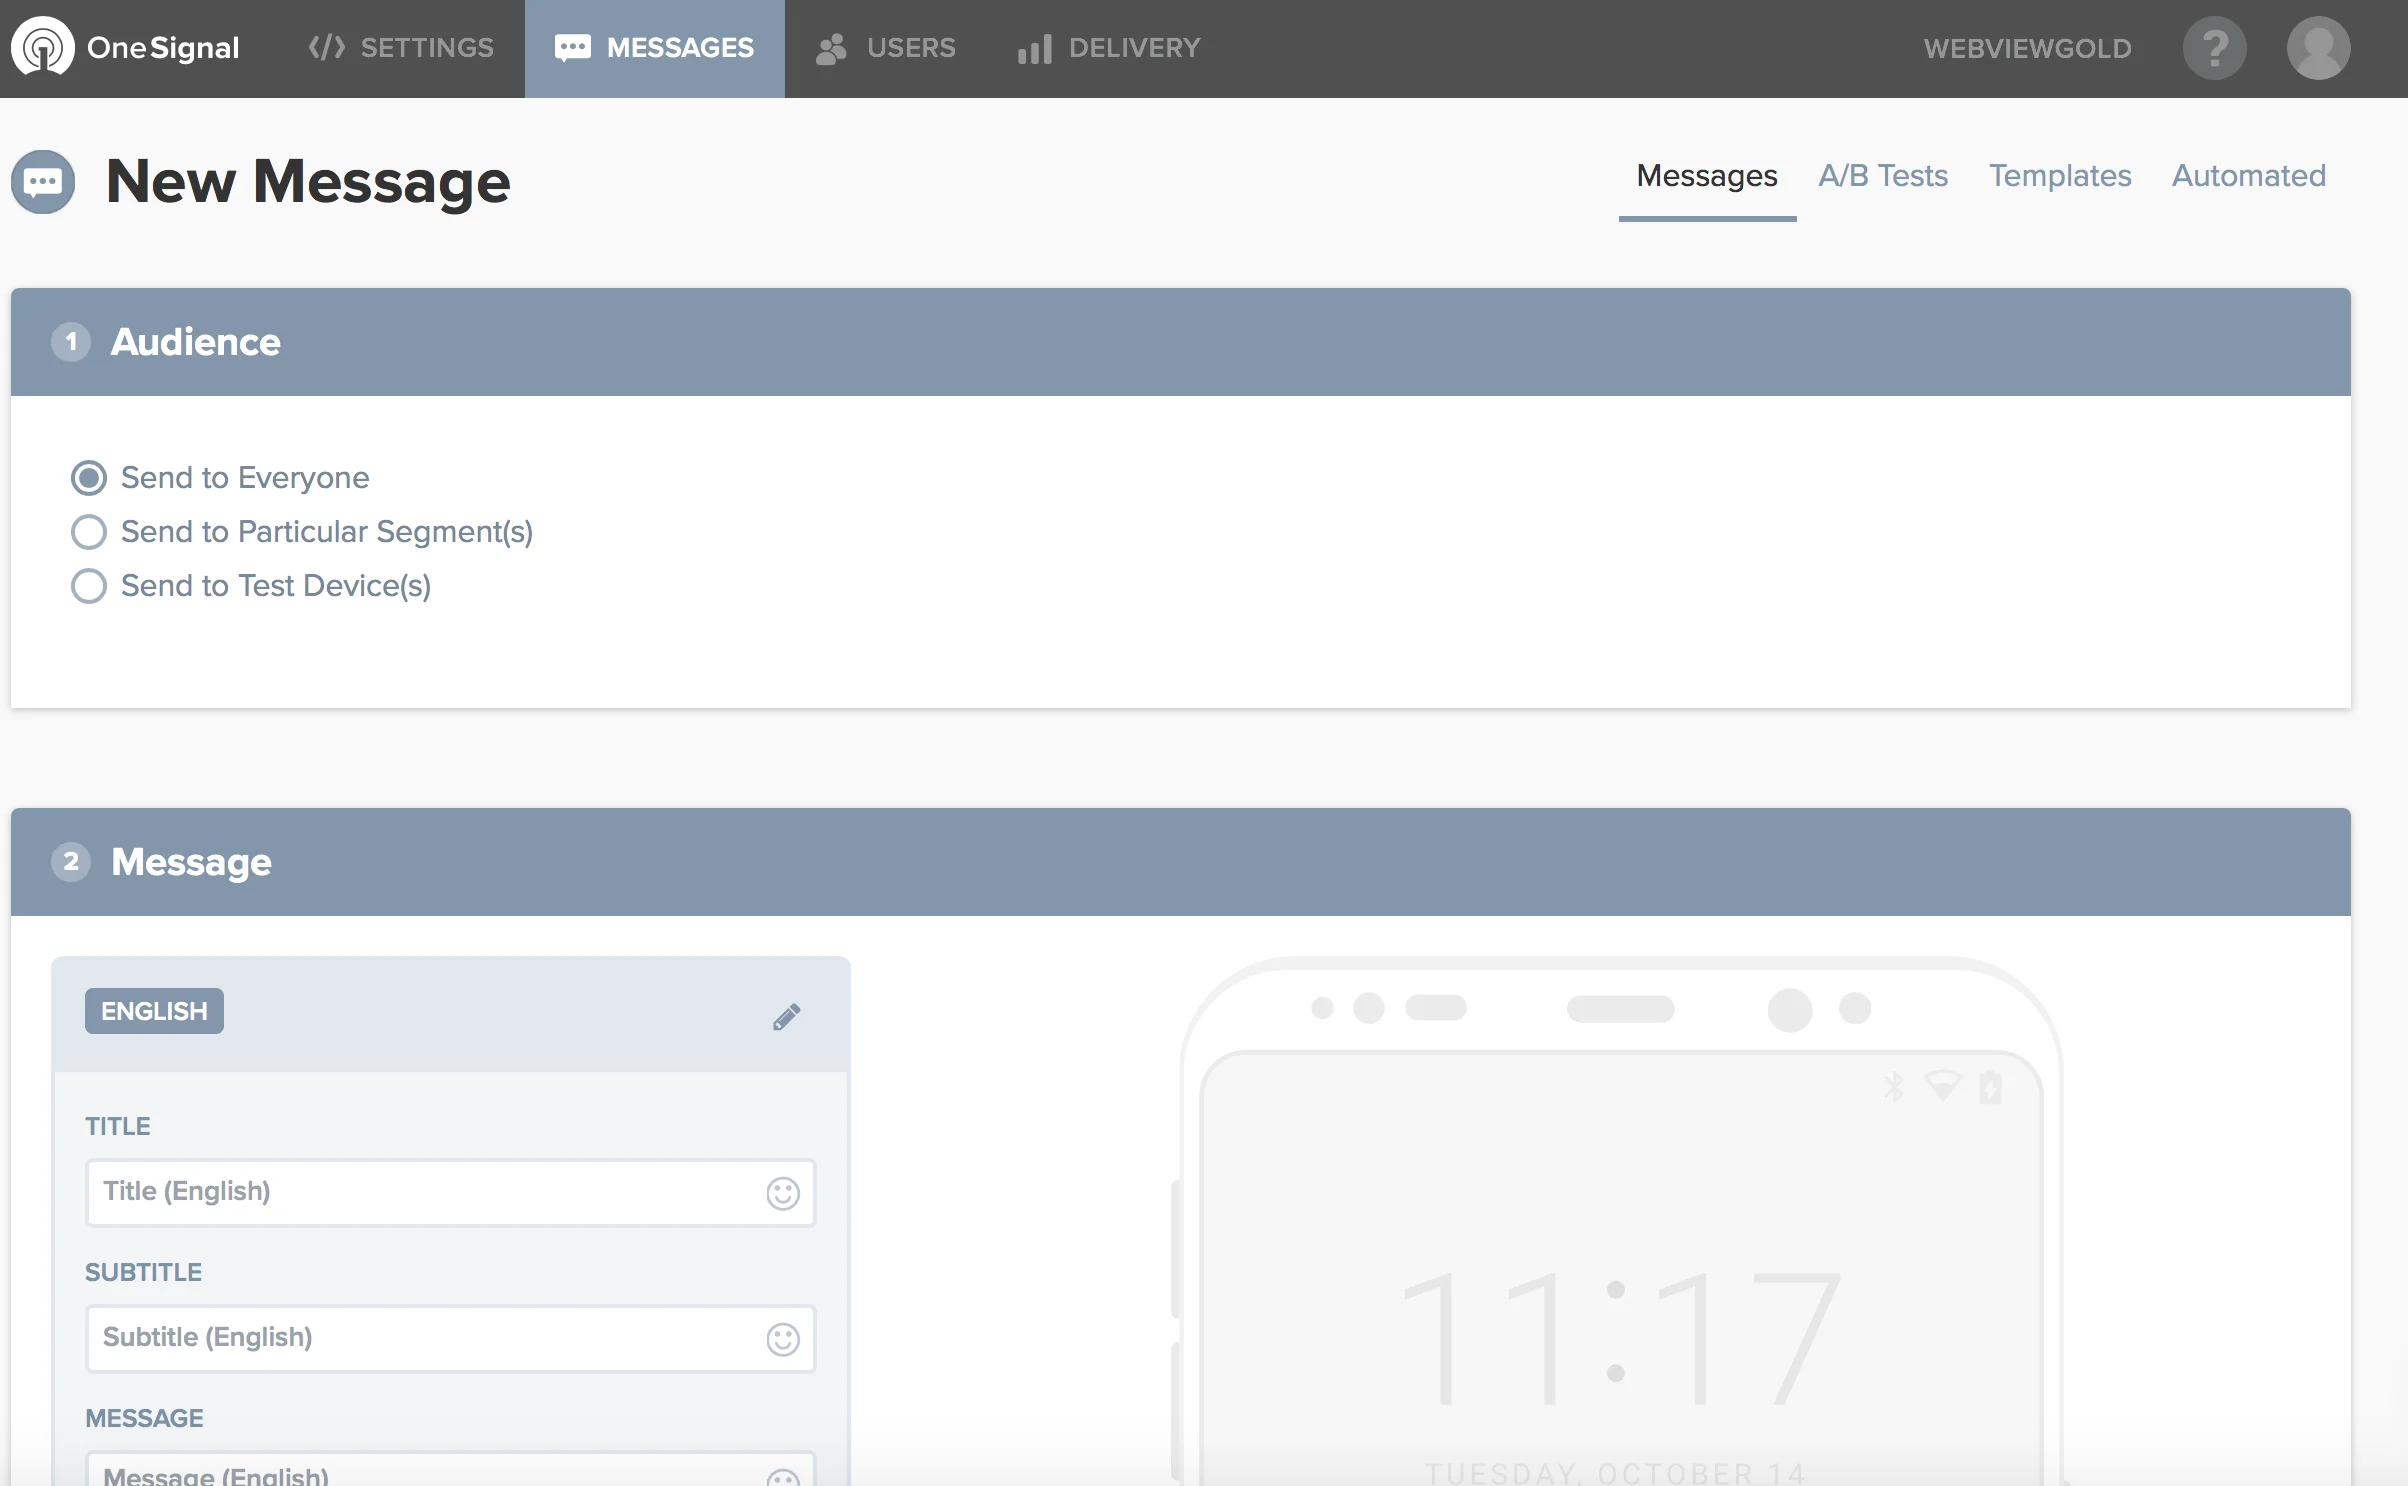
Yay, you are done. You can send push notifications now:
If you want to use OneSignal URL Deeplinking (opens a specific URL when clicking on your notification), please add the desired URL with a custom field called url: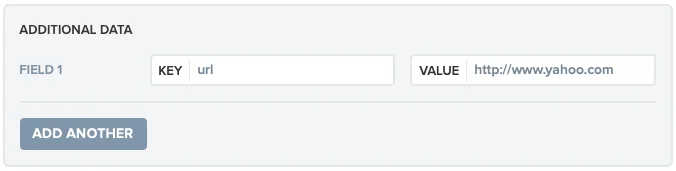
On the OneSignal.com Backend, you can fill in this key-value-pair window after clicking on "Advanced settings". Using the OneSignal API, you can add the "url" field to the API request (https://documentation.onesignal.com/docs/onesignal-api).
Do you want to get each individual subscription ID on your server for further processing and individual user push messages? Just activate the kPushEnhanceUrl option in Config.swift (by switching the value from false to true) in order to append ?onesignal_push_id=XYZ to your WebView URL. If your WebView URL is https://www.example.org, WebViewGold will call https://www.example.org?onesignal_push_id=XYZ instead. Only the first URL request will get that GET variable, so please save it in a session or in a cookie to access it on your linked pages. An alternative or additional way would be to retrieve & process the information on any page via JavaScript:
<script>
window.location.href = "getonesignalplayerid://";
alert(onesignalplayerid);
</script>
Alternatively, consider turning
autoInjectVariable to true in Config.swift to automatically inject this (and other) values into JavaScript without needing to call a URL upfront.
Option 4: Use Firebase Remote Push Notifications
Step 1: Create a Firebase Project
Begin by creating a Firebase project in your Firebase Console. This is a prerequisite for integrating Firebase with your WebViewGold app.
Step 2: Register Your App with Firebase
Once your Firebase project is ready, you can add your WebViewGold app to it by following these steps:
a. Navigate to the project overview page in your Firebase console, then select the iOS icon to start the app registration process.
b. To add a new app to your project, click Add app and select the platform options. When prompted, enter your app's bundle ID into the iOS bundle ID field. This ID is crucial and can be found by:
- Opening your app project in Xcode.
- Selecting the project name at the top of the navigator to access the General tab.
- Your app's bundle ID is listed under the Bundle Identifier field (e.g., com.onlineappcreator.webviewgold).
Ensure you input the exact bundle ID used by your app. This value is permanent once your app is registered with Firebase.
c. Complete the setup by providing the required app information, including:
- App Nickname: A convenience identifier for your reference in the Firebase console.
- App Store ID: Necessary for Firebase Dynamic Links and Google Analytics integration. You can add this later if your app doesn't have one yet.
Step 3: Register Your App
Click Register app to complete the registration process.
Step 4: Download GoogleService-Info.plist
Download this configuration file and replace the placeholder in your WebViewGold project with the downloaded GoogleService-Info.plist file.
Step 5: Activate Firebase in WebViewGold
In the Config.swift file, set the kFirebasePushEnabled variable to true to enable Firebase functionalities.
Step 6: Set Up APN and Sign Your App
Generate an APN key for Firebase, upload it, and then sign your app using the Firebase provisioning profile. For a detailed guide, visit Firebase documentation on iOS certificates.
Step 7: Implement URL Deeplinking (Optional)
For Firebase URL Deeplinking support, add the target URL in a Custom Data field under Additional options (optional), with Key = "url" and Value = {desired URL}.
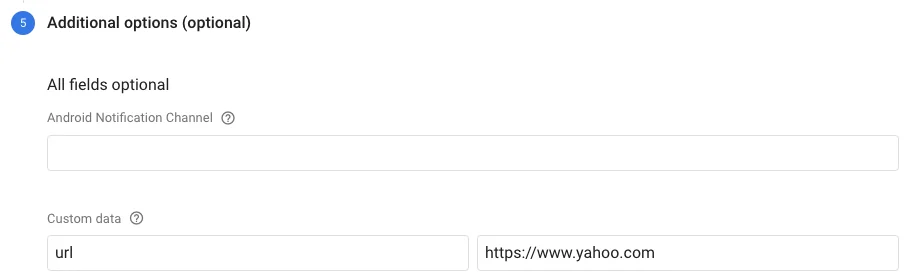
To subscribe to a Firebase topic, set firebaseTopic in Config.swift to the name of the topic you would like.
Do you want to get each individual subscription ID on your server for further processing and individual user push messages? Just activate the kFirebaseEnhanceUrl option in Config.swift (by switching the value from false to true) in order to append ?firebase_push_id=XYZ to your WebView URL. If your WebView URL is https://www.example.org, WebViewGold will call https://www.example.org?firebase_push_id=XYZ instead. Only your FIRST URL request will get that GET variable, so save it in a session or in a cookie to access it on your linked pages. An alternative or additional way would be to retrieve & process the information on any page via JavaScript:
<script>
window.location.href = "getfirebaseplayerid://";
alert(firebaseplayerid);
</script>
Alternatively, consider turning
autoInjectVariable to true in Config.swift to automatically inject this (and other) values into JavaScript without needing to call a URL upfront.
Option 5: Use bubble.io Push Notifications
1. Create a bubble.io app
2. Install the WebViewGold OneSignal Push plugin:
3. Follow the OneSignal instructions (see above) and the plugin instructions (see here and here).