
App Icon
Add your custom app icon to your WebViewGold Android app in Android Studio — step by step.
Optional App Disclosure for your Privacy Policy / Terms & Conditions
If you offer (WebViewGold-based) mobile apps to your users, you may optionally include the following statement in your Privacy Policy or Terms & Conditions (this note is provided for informational purposes only and does not constitute legal advice. We assume no liability for how this text is used. Please consult a legal professional for individual guidance):
    Our mobile apps (iOS/Android) are developed using WebViewGold by jocapps GmbH (Germany). These apps display the content of our website using a WebView framework and enrich it with selected native features to improve usability and performance. Accordingly, the same privacy policy and terms of service that apply to our website also apply to our mobile apps. For more information, please visit
    https://www.webviewgold.com/#convert-website-to-app-privacy, or contact us directly.
3) Adding a Custom App Icon
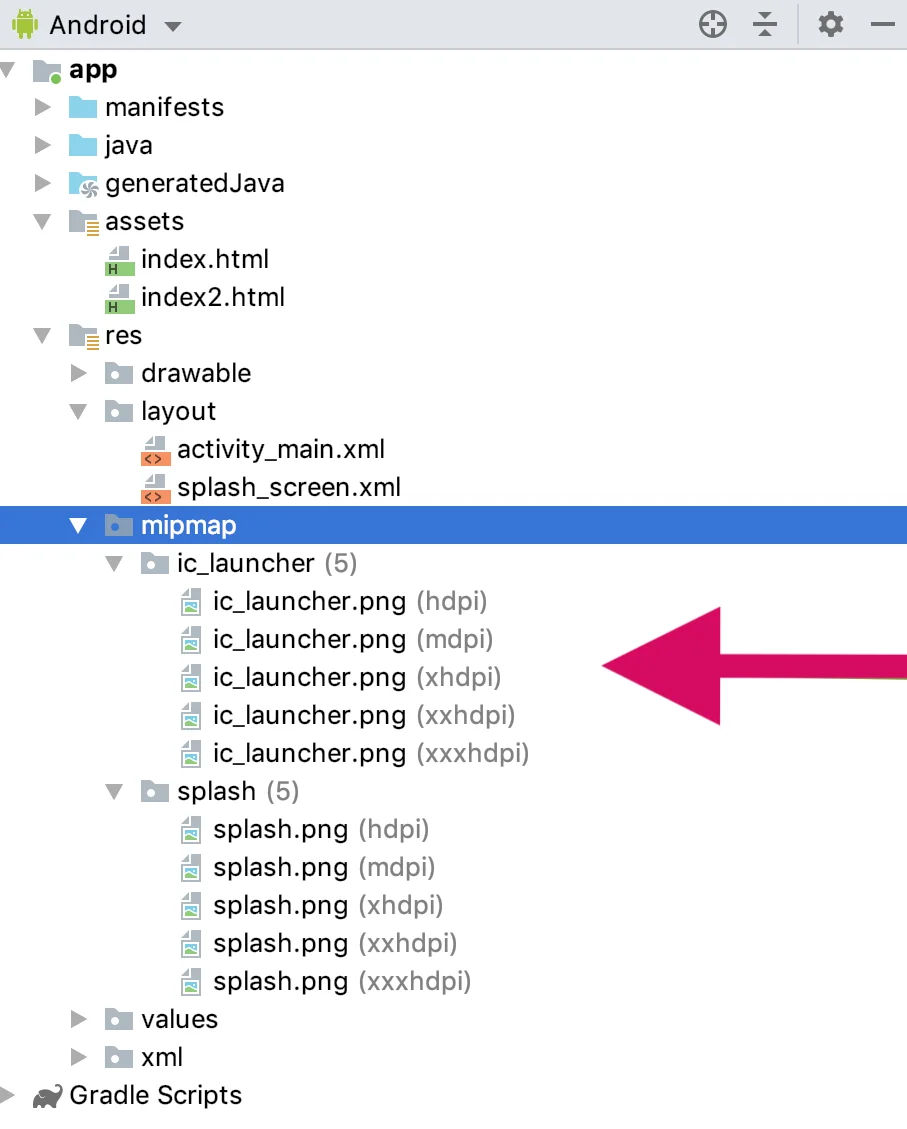
Here’s how to add a custom app icon to your WebView-based Android app:
1. Locate Existing App Icons
To begin, find the existing app icon files:
- Right-click on each 'ic_launcher.png' file in your project (sizes from hdpi to xxxhdpi).
- Select Reveal in Finder (Mac) or Reveal in Explorer (Windows).
2. Replace with Your Icon
Replace each ic_launcher.png file with your new icon file, ensuring the new icons meet the following requirements:
- Include icons for each resolution: hdpi, xhdpi, xxhdpi, and xxxhdpi.
- Use a high-quality image (preferably in PNG format).
Tip: You may also use the Launcher Icon Generator (note: WebViewGold is not affiliated with the tool’s developer).
Different devices will display square or round icons. Therefore, you must include:
- 'ic_launcher.png': Used on devices with square icons.
- 'ic_launcher_round.png' and 'ic_launcher_foreground.png': Used on devices with round icons.
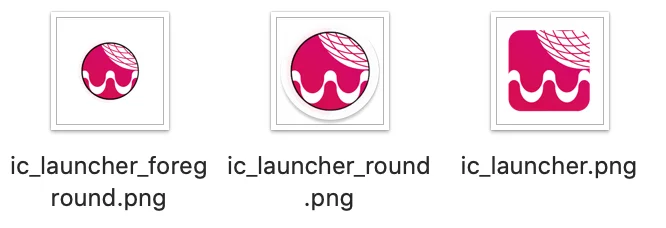
Place all three files in the respective mipmap folders for each resolution (mipmap-hdpi, mipmap-xhdpi, mipmap-xxhdpi, and mipmap-xxxhdpi).
The video explains in detail the process to change the icon of your new App, and some recommendations to create it.